Moving into your first home in Central Florida often means facing the question of how to stay cool without breaking your budget. Creating true home comfort starts with a well-prepared HVAC installation, which impacts both your monthly bills and everyday living. By following simple, step-by-step guidance, you can confidently set up a system that balances energy efficiency, safety, and lasting peace of mind for your family.
Table of Contents
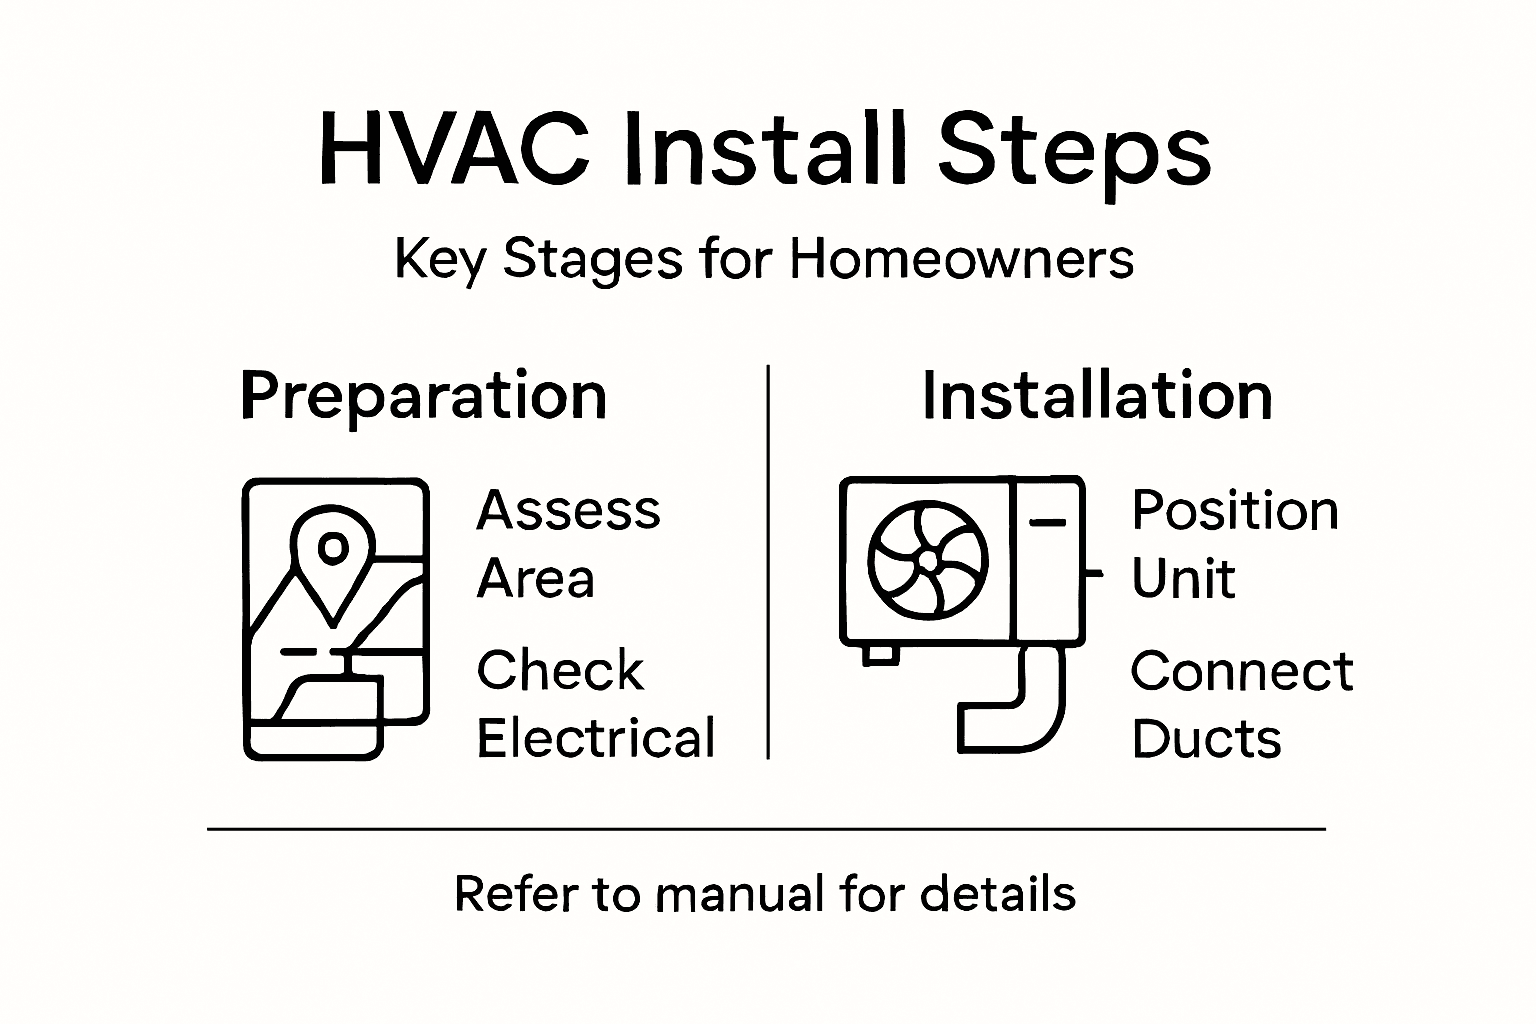
- Step 1: Assess and Prepare the Installation Area
- Step 2: Select and Position the HVAC Unit
- Step 3: Connect Ductwork and Electrical Components
- Step 4: Charge and Start the HVAC System
- Step 5: Test Functionality and Ensure System Safety
Quick Summary
| Key Point | Explanation |
|---|---|
| 1. Assess the installation area thoroughly | Evaluate your home’s layout and electrical systems for optimal HVAC placement and efficiency. |
| 2. Obtain accurate sizing for the HVAC unit | Properly size the unit to ensure effective heating and cooling without wasting energy. |
| 3. Ensure airtight ductwork connections | Seal duct joints to prevent air leaks, enhancing efficiency and performance of the HVAC system. |
| 4. Follow refrigerant charging guidelines | Adhere to manufacturer specifications for refrigerant to ensure system longevity and optimal functionality. |
| 5. Conduct comprehensive system testing | Test HVAC operation to validate performance and safety measures before regular use. |
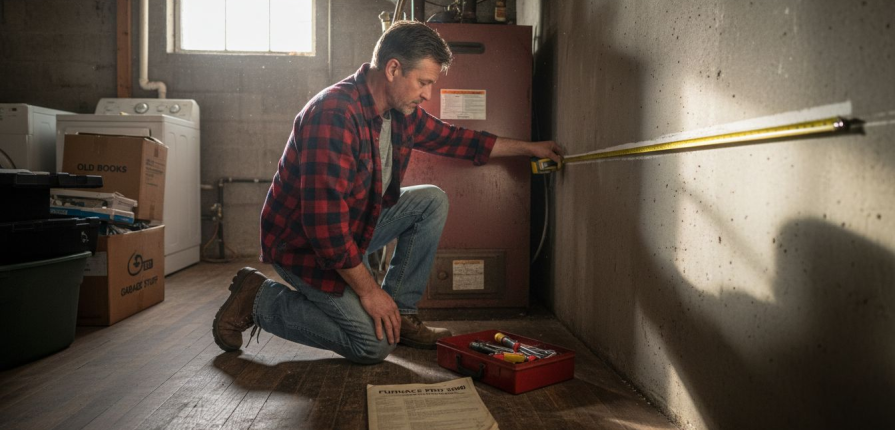
Step 1: Assess and prepare the installation area
Before you start installing your new HVAC system, preparing the area is crucial for a smooth and safe installation. You will need to carefully evaluate your home’s layout, electrical infrastructure, and space requirements to ensure your new heating and cooling system functions optimally.
Begin by conducting a comprehensive home performance assessment that examines your home’s structural integrity, energy efficiency, and potential installation challenges. Check for any existing gas lines, electrical wiring, or structural obstacles that might impact the HVAC unit placement. Measure the designated installation space precisely and confirm it can accommodate your new system’s dimensions. Pay special attention to ventilation requirements, ensuring adequate clearance around the unit for proper airflow and maintenance access.
Verify your home’s electrical capacity can support the new HVAC system by consulting your electrical panel specifications and potentially scheduling an inspection with a licensed electrician. This step helps prevent potential overload risks and ensures safe system integration. Assess your home’s insulation and seal any air leaks to maximize the new system’s efficiency.
Pro tip: Take detailed photographs of your installation area before beginning work to help track measurements and serve as a reference point during the installation process.
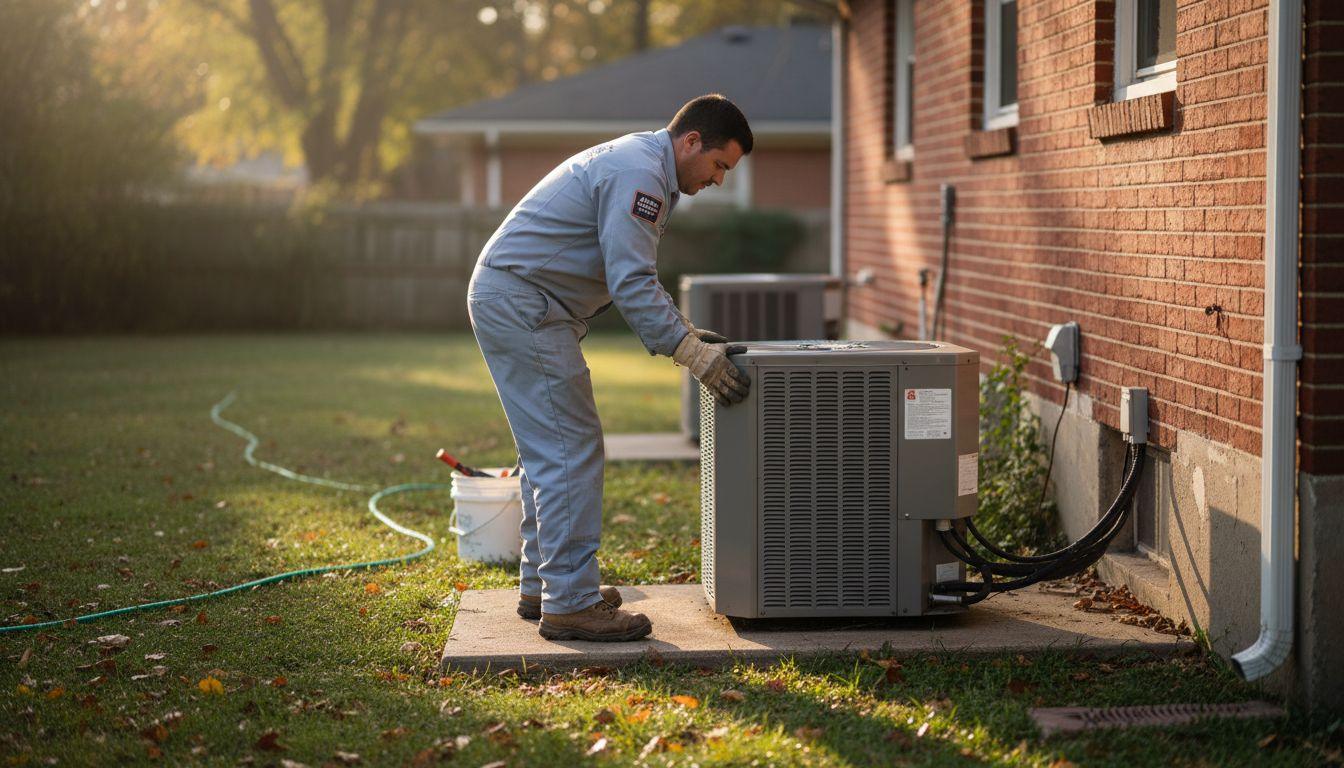
Step 2: Select and position the HVAC unit
Selecting and positioning your HVAC unit is a critical step that directly impacts your home’s comfort, energy efficiency, and long-term system performance. This phase requires careful consideration of multiple factors to ensure optimal functionality and reliability.
Start by evaluating your home’s specific requirements through a precise sizing calculation. An undersized unit will struggle to cool or heat your space effectively, while an oversized system wastes energy and creates inconsistent temperatures. Measure your home’s square footage, consider ceiling heights, insulation quality, and local climate conditions to determine the appropriate unit capacity. Professional HVAC technicians typically use detailed load calculation methods to recommend the most suitable system size for your specific environment.
When positioning the unit, prioritize accessibility and environmental protection. Choose a location that provides sufficient clearance for maintenance, protects the system from direct sunlight and extreme weather, and allows for proper airflow. Outdoor units should be placed on a stable, level surface away from potential debris or landscaping that could obstruct ventilation. Indoor units require strategic placement to optimize air distribution while minimizing noise and maintaining aesthetic considerations.
Pro tip: Consider future maintenance needs when positioning your HVAC unit and leave at least 24 inches of clear space around all sides to ensure easy access for repairs and annual servicing.
Step 3: Connect ductwork and electrical components
Connecting the ductwork and electrical components is a critical phase of HVAC installation that requires precision, technical knowledge, and careful attention to safety protocols. This step bridges your new system’s mechanical infrastructure with your home’s existing electrical and ventilation network.
Begin by examining your electrical wiring schematics to ensure proper connection of control boards, relays, and power supplies. Carefully match wire colors and follow manufacturer specifications for electrical connections, using appropriate wire nuts and electrical tape to secure connections. When installing ductwork, focus on creating airtight seals between sections to prevent air leakage. Use metal foil tape or specialized duct sealant to connect segments, ensuring smooth transitions that minimize air resistance and optimize system efficiency.
Pay close attention to proper grounding and circuit load requirements during electrical connections. Verify that your electrical panel can support the new HVAC system’s power demands and that all connections comply with local building codes. For ductwork, maintain consistent sizing and minimize sharp turns or unnecessary bends that could restrict airflow. Properly support duct runs to prevent sagging and potential air leakage, using appropriate hanging straps or support mechanisms at recommended intervals.
Pro tip: Always use a digital multimeter to verify electrical connections and test continuity before finalizing your HVAC system installation.
Step 4: Charge and start the HVAC system
Charging and starting your new HVAC system represents the final critical phase of installation where careful preparation meets precise technical execution. This stage transforms all your previous work into a fully functional cooling and heating solution for your home.
Begin by carefully following the manufacturer’s refrigerant charging specifications to ensure optimal system performance. Using a professional refrigerant manifold gauge set, slowly and methodically add refrigerant according to the unit’s precise requirements. Measure ambient temperature and system pressure carefully during this process to prevent overcharging or undercharging which can significantly damage your new system. Check that all connections are tight and secure before initiating the initial startup sequence.
Carefully power up the system by switching on the circuit breaker and thermostat. Listen carefully for any unusual sounds during the first few minutes of operation and monitor airflow from each vent. Observe the system cycling on and off to verify proper temperature control and consistent performance. Pay close attention to initial system behavior checking for smooth operation of the compressor fan motor and ensuring even temperature distribution throughout your living space.
Pro tip: Keep your system’s installation manual nearby during startup and take detailed notes about initial performance to help with any potential future troubleshooting.
Step 5: Test functionality and ensure system safety
Testing your newly installed HVAC system goes beyond simply turning it on your first comprehensive evaluation ensures optimal performance safety and long term reliability. This critical final assessment will validate all your previous installation efforts and provide peace of mind about your new home comfort system.
Begin by conducting a thorough performance measurement sequence that checks multiple system parameters. Run the system through complete heating and cooling cycles while monitoring temperature consistency airflow quality and overall performance. Check each room’s temperature differential verify that all vents are producing appropriate airflow and listen carefully for any unusual sounds from the compressor or blower motor. Inspect electrical connections for any signs of looseness or potential arcing and ensure that all safety controls function correctly.
Carefully evaluate the system under different load conditions by adjusting thermostat settings and observing how quickly and efficiently the HVAC responds. Test both cooling and heating modes paying special attention to temperature recovery rates and system cycling behavior. Verify that safety mechanisms like pressure switches circuit breakers and temperature limit controls activate appropriately. Document your observations including any variations in performance which could indicate potential future maintenance requirements.
Pro tip: Use an infrared thermometer to quickly and accurately measure air temperature at different vents to confirm consistent performance across your home.
Use this table to understand risks avoided by following proper HVAC installation practices:
| Proper Practice | Risk Avoided | Benefit Gained |
|---|---|---|
| Home performance assessment | Placement obstacles | Smooth, problem-free install |
| Correct system sizing | Poor comfort, energy waste | Lower bills, consistent temps |
| Airtight duct sealing | Air leakage | Maximum efficiency |
| Accurate refrigerant charging | System damage | Long equipment lifespan |
| Comprehensive testing | Missed faults | Reliable operation |
Here’s a summary of each HVAC installation step and its main focus:
| Step | Main Objective | Key Focus |
|---|---|---|
| 1 | Prepare installation area | Assess structure, space, safety |
| 2 | Select and position unit | Tailored sizing, ideal placement |
| 3 | Connect ductwork & electrical | Safe wiring, airtight ducts |
| 4 | Charge & start system | Proper refrigerant charging |
| 5 | Test & ensure safety | Performance validation, controls check |
Ensure Your HVAC Installation Goes Smoothly with Expert Help
Installing a new HVAC system involves many critical steps such as sizing your unit correctly, sealing ductwork to avoid air leakage, and charging the system with the right refrigerant levels. These detailed tasks can quickly become overwhelming without professional guidance. The result could be poor comfort in your home, wasted energy, or costly system damage.
Trust Lucas Air Conditioning and Heating to help you overcome these challenges. Our veteran-owned company in Eustis, Florida, has been committed since 2018 to providing expert residential HVAC installation and maintenance. From optimizing ventilation solutions to precise air conditioning system setup, we empower homeowners to enjoy reliable, efficient climate control. Check out our Air Conditioning Archives for more insights into system upgrades and maintenance.
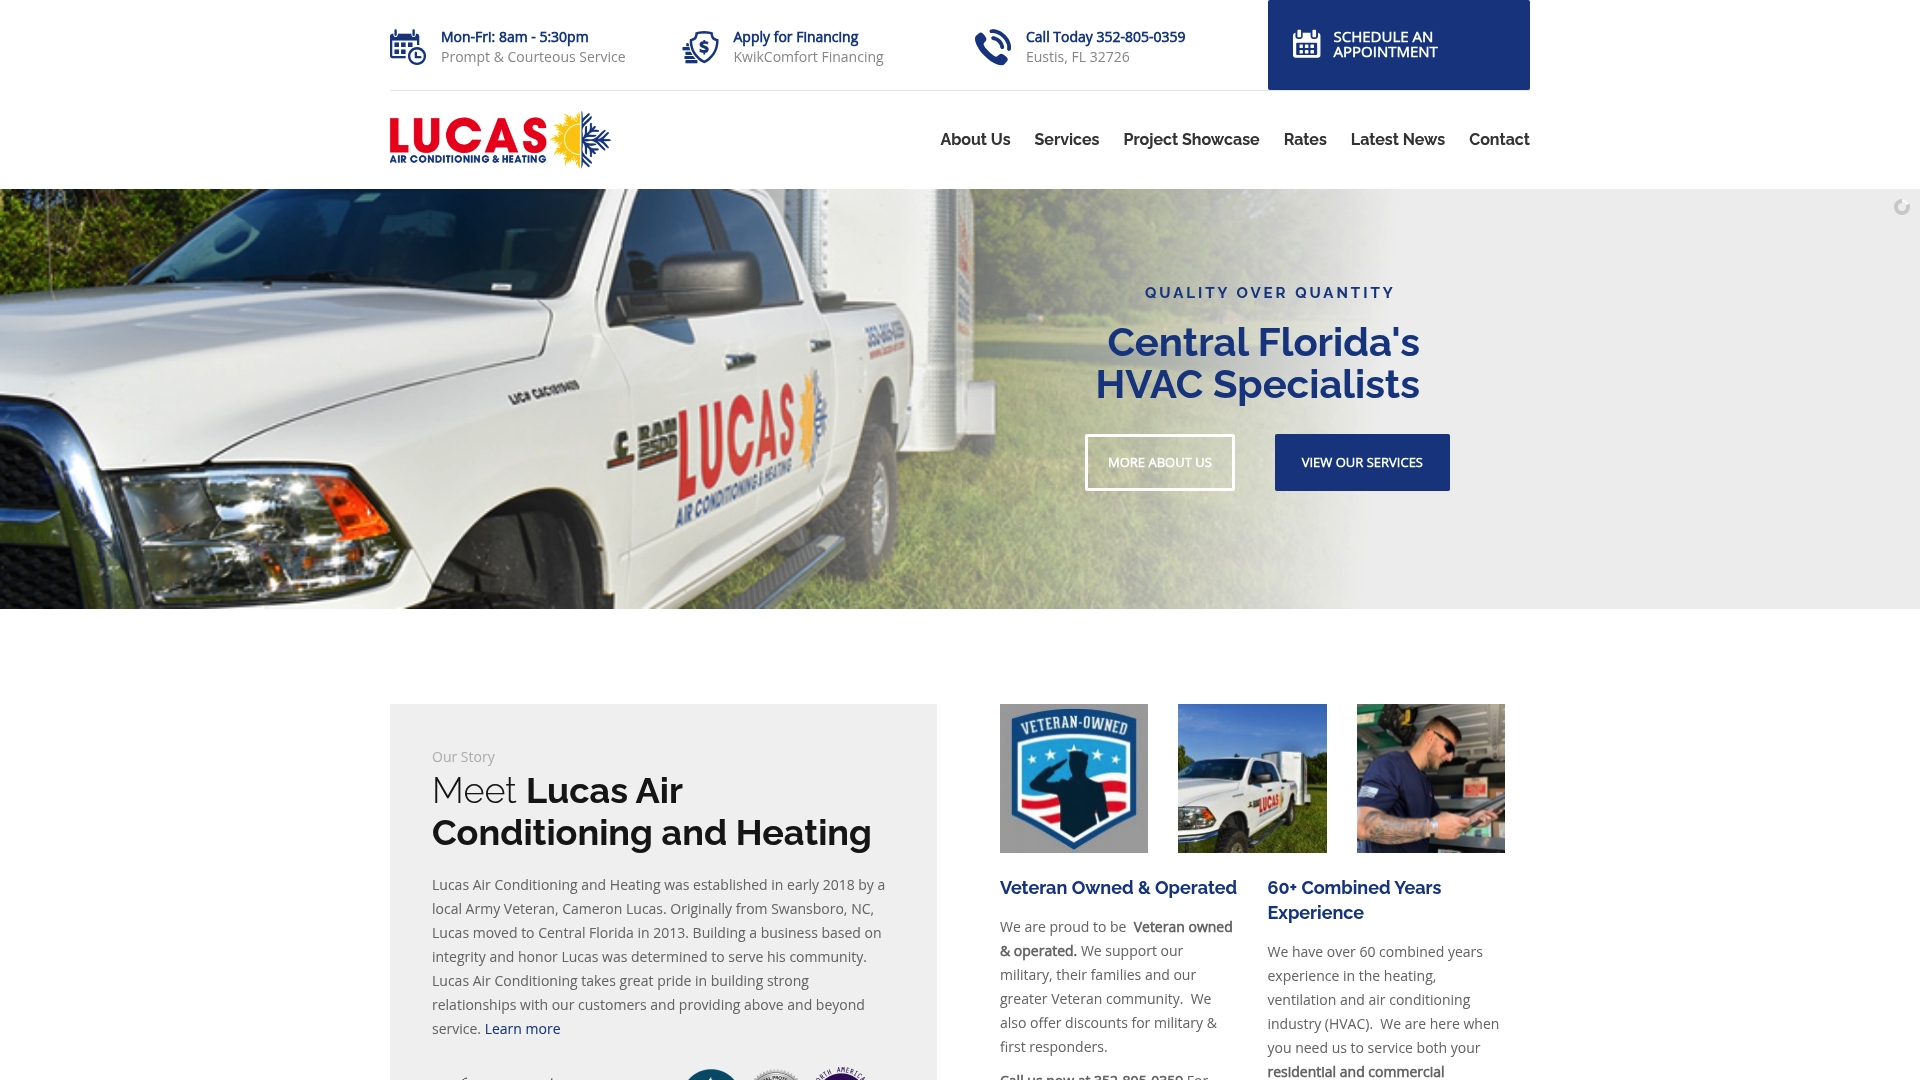
Don’t risk costly mistakes on your HVAC installation. Take advantage of our current Special Offers and schedule your professional service today. Visit Lucas Air Conditioning and Heating now and experience trustworthy care from start to finish.
Frequently Asked Questions
What is the first step in HVAC installation for homeowners?
Before starting HVAC installation, assess and prepare the installation area. Conduct a home performance assessment to evaluate structural integrity and energy efficiency, and check for any obstacles like gas lines or electrical wiring.
How do I select the right HVAC unit size for my home?
To select the right size for your HVAC unit, perform precise sizing calculations based on your home’s square footage and insulation quality. Measure your space and consider factors like ceiling heights and local climate conditions to ensure optimal comfort and efficiency.
What should I consider when positioning my HVAC unit?
When positioning your HVAC unit, prioritize accessibility for maintenance and protection from extreme weather. Ensure there is a minimum of 24 inches of clearance around the unit for airflow and maintenance access.
How do I ensure proper ductwork and electrical connections?
To ensure proper ductwork and electrical connections, focus on creating airtight seals between duct sections and verify that all electrical connections match manufacturer specifications. Use metal foil tape for ducts and secure electrical connections using appropriate wire nuts and electrical tape.
What steps should I take to charge the HVAC system correctly?
To charge your HVAC system correctly, follow the manufacturer’s refrigerant charging specifications precisely. Use a professional refrigerant manifold gauge set, monitor temperature and pressure, and ensure all connections are secure before starting the system.
How can I test the functionality of my newly installed HVAC system?
To test your HVAC system’s functionality, run it through heating and cooling cycles while monitoring temperature consistency and airflow. Check all vents for proper operation and listen for unusual sounds to ensure everything is functioning correctly.
Recommended
- Landing Page for HVAC Financing – Lucas Air Conditioning and Heating
- Page Elements – Lucas Air Conditioning and Heatin
- Why Upgrade HVAC Systems: Comfort and Cost Benefits
- 7 Essentials for a Thorough Commercial HVAC Checklist
- HVAC SEO Services in San Antonio, TX | Aim Set Win
- HVAC Contractor Eustis FL
- Air Conditioning Installation Eustis FL
