
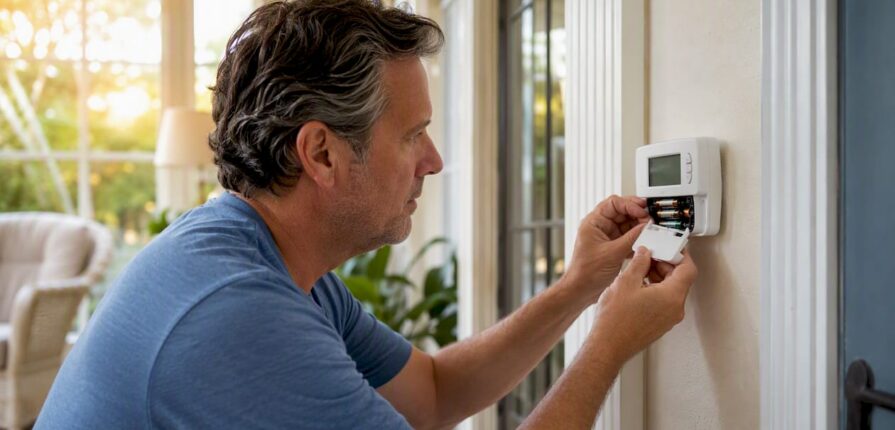
Most cases of a thermostat not working come down to three things: dead batteries, a tripped breaker, or a system that needs a simple reboot. Try those first, in that order, before assuming you need a new thermostat or a service call.
Start here:
- Replace the batteries. Even thermostats that show “low battery” warnings sometimes die without notice.
- Check the HVAC breaker and the furnace or air handler’s power switch. A flipped breaker or a switch bumped during storage kills power to the whole system, not just the thermostat.
- Power-cycle the thermostat. Pull it off the wall for 30 seconds, or cut power at the breaker for a minute, then restore it.
Pro Tip: If your display reads “Cool On” or “Heat On” and nothing happens for a few minutes, don’t panic. That’s usually a built-in compressor protection delay, not a failure. Give it five to ten minutes before you touch anything else.
Key Takeaways
A thermostat not working is usually a power or wiring issue, not a broken unit, and most cases get fixed with batteries, a breaker check, and a reboot before any wiring work is needed.
| Point | Details |
|---|---|
| Start with power | Replace batteries and check the HVAC breaker before assuming the thermostat is broken. |
| Respect the delay | Wait 5 to 10 minutes for the compressor protection delay before troubleshooting further. |
| Know your wires | R, C, W, Y, and G each control a specific function; a loose or corroded terminal often explains no response. |
| Red flags mean stop | Burning smells, sparking, frayed wires, or repeat blown fuses require a technician, not more DIY. |
| Call Lucas Air for diagnosis | Lucas Air tests 24-volt power, fuses, and transformers on every thermostat service call before recommending repair or replacement. |
Table of Contents
- What To Check When Your Thermostat Isn’t Responding
- Common Thermostat Symptoms and What They Usually Mean
- How Do I Check Thermostat Wiring for Problems?
- How Do You Reset a Thermostat?
- When Should You Call a Pro Instead of Fixing It Yourself?
- Get Your Thermostat Diagnosed and Fixed the Right Way
- Sources
What To Check When Your Thermostat Isn’t Responding
Run through this in order. Most homeowners can finish it in under 15 minutes.
- Swap the batteries if your model uses them, then check for any display response.
- Check the breaker panel for your HVAC system and reset any tripped breaker firmly to “off” then “on.”
- Confirm mode and setpoint. Set the temperature at least 5°F past the current room temperature to force a call for heat or cool.
- Listen and watch. You’re listening for a click at the thermostat or a hum from the furnace or air handler. Watch for display messages like “Cool On,” “Heat On,” or an error code.
- Wait out the compressor delay. Give the system 5 to 10 minutes before assuming it’s dead, especially after a power interruption.
Before you call anyone, jot down what you saw: was the screen blank or lit? Did you hear a click? Did the blower or outdoor unit ever kick on? A step-by-step troubleshooting guide can help you work through the same logic in more detail if the checklist above doesn’t resolve it.
- Exact error message or blank screen
- Whether the indoor blower ran at any point
- Whether the outdoor unit made any sound
Common Thermostat Symptoms and What They Usually Mean
Different symptoms point to different fixes. Here’s how to read yours.
Blank screen, no lights at all
A blank thermostat usually means no power is reaching it. Start with batteries if your model uses them, then check the breaker. If power looks fine at the breaker but the screen still won’t light, look for a furnace door safety switch that isn’t fully engaged. Furnaces have a small switch on the blower door that cuts power when the door is loose or removed, and it’s an easy thing to overlook after a filter change.
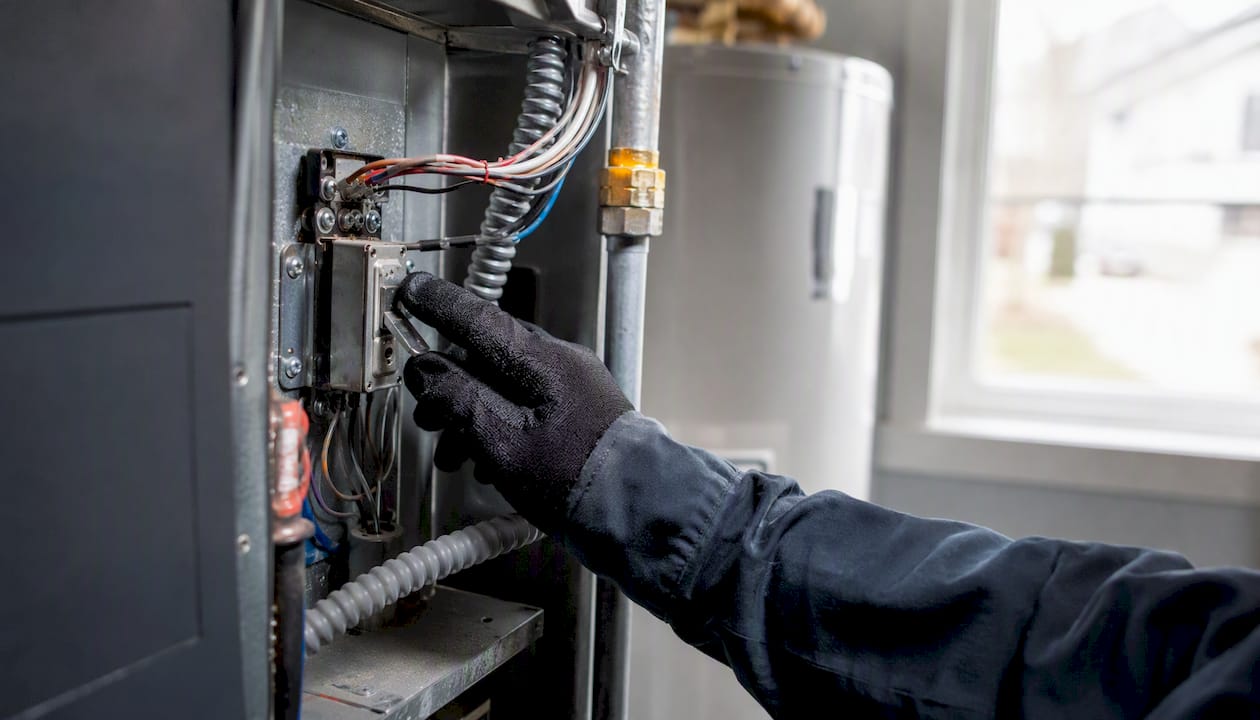
If none of that works, the furnace’s control board may have a blown low-voltage fuse, which typically sits near the transformer and is rated for low amperage. A blank screen is one of the most common complaints homeowners bring to HVAC companies, and Kodiak HVAC’s troubleshooting data shows that battery replacement or a breaker reset resolves a large share of these calls without any wiring work at all.
What to expect: if batteries and breaker fix it, you’re done. If not, this is where DIY should stop and a technician should check the fuse and transformer.
Display is on, but the system won’t start
This is the “thermostat not controlling AC” scenario, and it’s usually not the thermostat’s fault. First, confirm the mode is set correctly and the temperature is actually calling for heat or cool. Next, remember the compressor protection delay. If you just had a power blip, your outdoor unit’s control board may be intentionally holding the compressor off for a few minutes to protect it.
If the delay isn’t the issue, check for an external AC disconnect box near the outdoor unit. It’s easy to bump it into the off position during yard work. On the cooling side, a full condensate drain pan will trip a float switch and shut the system down as a safety measure. This is common in Florida homes during humid months and is often mistaken for a dead thermostat.
What to expect: if the disconnect was off or the float switch was tripped, clearing the water or resetting the switch usually restores function immediately. If everything checks out and it still won’t run, that points toward equipment or wiring, not the thermostat itself.
Thermostat clicks, but nothing runs
You hear the relay click at the thermostat, but the furnace, air handler, or outdoor unit never responds. This pattern usually means the signal is reaching the thermostat, but something between the thermostat and the equipment is broken. That’s often a failed transformer, a blown low-voltage fuse on the furnace control board, or an HVAC-side safety interlock (like that same condensate float switch) blocking the call.
Trane’s troubleshooting guidance lists this exact symptom as one that typically requires a technician, since diagnosing a transformer or control board fault safely requires testing voltage with a multimeter.
What to expect: this is not a battery-and-breaker fix. Note the click and the lack of response, then call for service.
Erratic temperatures or short cycling
If your thermostat reads a temperature that doesn’t match how the room actually feels, or the system turns on and off in short bursts, a few things could be at play. Dirty air filters restrict airflow and cause the system to overheat or overcool near the sensor, which throws off readings. Thermostat placement matters too. A unit near a window, vent, or in direct sunlight will read biased temperatures all day long.
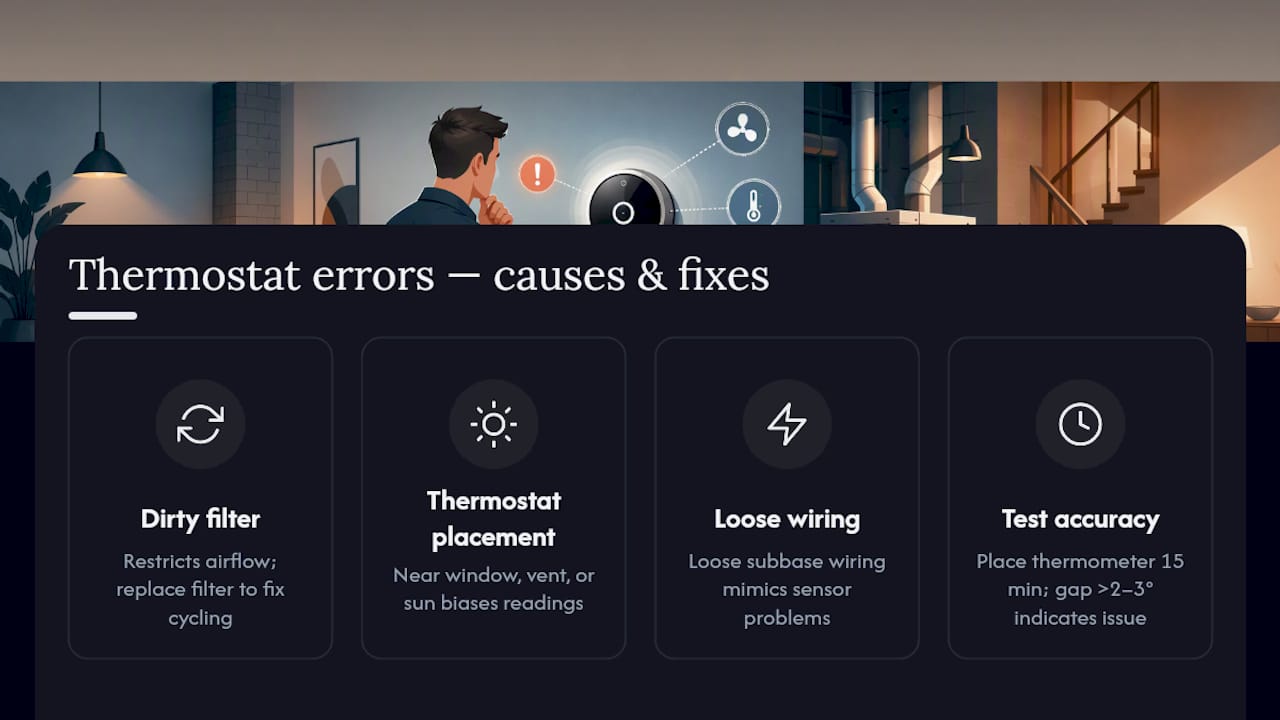
Loose wiring at the subbase, where the thermostat body attaches to the wall plate, can also cause intermittent connections that mimic sensor problems. To test accuracy, place a separate thermometer next to the thermostat for 15 minutes and compare readings. A gap of more than 2 to 3 degrees usually means a calibration issue or a placement problem, not a wiring fault.
What to expect: relocating the thermostat or replacing the filter often fixes short cycling. Persistent inaccurate readings after a filter check and placement review may mean the sensor itself is failing.
How Do I Check Thermostat Wiring for Problems?
Before touching any wires, cut power to the HVAC system at the breaker. This isn’t optional. Low-voltage thermostat wiring runs at 24 volts, which won’t shock you the way household wiring can, but working on it live risks shorting the transformer.
Once power is off, remove the thermostat’s faceplate from the wall plate. You’ll see a handful of labeled terminals, and understanding what each one does makes the rest of this much easier:
- R carries 24-volt power from the transformer to the thermostat.
- C is the common wire, which completes the circuit and powers smart thermostats continuously.
- W signals a call for heat.
- Y signals a call for cooling (the compressor).
- G controls the indoor fan.
Look at each wire’s connection point. You’re checking for corrosion, a greenish or white crust on the metal, and for wires that look chewed, frayed, or loose. Gently tug each wire; if one pulls free from its terminal, that’s a real find, and reseating it can solve an intermittent no-power or no-response problem on the spot.
If your furnace has a control board fuse and you’re comfortable checking it, a blown fuse (the wire inside visibly broken) usually means a short somewhere in the low-voltage circuit. Replacing a fuse once is a reasonable DIY step. If it blows again right away, stop. That’s a sign of a wiring short that needs a technician to trace, not a fuse to keep swapping.
Pro Tip: Take a photo of your wiring before you disconnect anything. Even if the wires are already labeled, a photo saves real time if you or a technician need to reconnect them later.
Immediate professional intervention is required for burning odors, sparking connections, frayed exposed wires, or error codes that return right after a reset. These aren’t DIY situations. They’re electrical safety issues that risk equipment damage or worse.
If you smell anything burning, see sparking at the thermostat or furnace, or notice wires that are visibly damaged, stop what you’re doing and call a professional immediately. The same goes for a fuse that blows more than once. Regional HVAC guidance on common thermostat warning signs echoes the same point: repeated failures after a simple fix almost always mean something upstream of the thermostat needs professional attention.
How Do You Reset a Thermostat?
Most thermostat glitches clear with a basic reboot, not a full factory reset. Try these in order:
- Power cycle at the thermostat. Remove it from the wall plate for 30 seconds, then reattach it.
- Power cycle at the breaker. Cut power to the HVAC system for one full minute, then restore it.
- Pull and reinsert batteries if your model has them, even if they’re not dead. This alone clears some display freezes.
- Wait through the compressor delay. After any of these steps, give the system 5 to 10 minutes before judging whether it worked.
A soft reboot and a factory reset are not the same thing. A factory reset wipes your schedule, your Wi-Fi connection, and any learned preferences on a smart thermostat. Only go this route if a simple power cycle hasn’t fixed things, since you’ll have to rebuild your setup from scratch afterward.
For smart thermostats specifically, check three things before resetting anything: your home Wi-Fi is actually online, the thermostat still shows as connected in its app, and there’s no pending firmware update stuck mid-install. The ENERGY STAR smart thermostat FAQ is a useful reference for how these devices differ from older programmable models, particularly around connectivity requirements. Before a factory reset, write down your account login and Wi-Fi password. You’ll need both to get the thermostat back online.
When Should You Call a Pro Instead of Fixing It Yourself?
Some situations call for a technician, no debate. Here’s what tips it from DIY into service call:
- Resets don’t stick. If the thermostat loses its settings, time, or connection repeatedly after being reset, something deeper is wrong.
- The display stays blank after confirmed battery replacement and a confirmed breaker check.
- Fuses blow more than once. One blown fuse can be a fluke; a second one signals a short.
- You see wiring damage, corrosion, or exposed conductors. Don’t handle this beyond a visual check.
- You get any burning smell or sparking. Stop immediately and call for service.
If your thermostat is more than 10 to 15 years old, replacement is often more practical than repair, especially if you’re pairing it with a smart thermostat that needs a C-wire your system doesn’t currently have. ENERGY STAR’s replacement guidance frames this as a comfort-and-efficiency decision as much as a repair one.
When a technician arrives, expect them to test for 24 volts at the thermostat terminals with a multimeter, check the control board fuse, and inspect the transformer before touching the thermostat itself. Having your symptom notes, breaker status, and any error messages ready speeds up the visit considerably.
Simple Habits That Prevent Future Thermostat Failures
A little routine maintenance goes a long way toward keeping your thermostat from acting up again.
- Replace batteries once a year, even if they haven’t triggered a low-battery warning.
- Keep the thermostat free of dust buildup, which can interfere with sensors on some models.
- Change your HVAC air filter on schedule. A dirty filter is one of the most common causes of erratic readings and short cycling.
- Avoid mounting or leaving a thermostat near direct sunlight, supply vents, or exterior doors, all of which skew temperature readings.
- Book an annual HVAC tune-up so wiring, connections, and system performance get checked before problems show up. Energy that a properly programmed thermostat is one of the simplest ways to control home energy use, and heating and cooling account for a sizable share of typical household energy consumption according to EIA data.
What We Check First on a Thermostat Service Call
Every Lucas Air technician runs the same sequence before touching wiring: verify power at the thermostat, check the furnace or air handler access panel for a tripped float switch, read any stored error codes, and test for 24 volts at the terminals.
Before we arrive, it helps if you can note your symptom, write down any thermostat messages, confirm the breaker is on, and clear access to the indoor unit. Our things-to-check-before-your-AC-repair-call guide walks through this same prep list in more detail.
Pro Tip: Keep your thermostat’s brand and model number handy when you call. It helps us bring the right parts on the first visit.
Why Following the Checklist Actually Saves You Money
Dead batteries and a loose wire nut behind the thermostat cause more emergency calls than any actual equipment failure I’ve seen. Working the checklist in order, batteries first, then power, then reset, catches most of it before you spend money on a visit you didn’t need.
That said, we’ll always tell you to call a technician the moment burning smells, sparking, or repeated blown fuses show up. No homeowner should be troubleshooting past that point.
Get Your Thermostat Diagnosed and Fixed the Right Way
Chasing down a bad transformer or a corroded low-voltage wire yourself can eat an entire Saturday, and there’s real risk in guessing wrong on wiring. Lucas Air handles thermostat diagnostics, wiring repair, C-wire installation for smart thermostat upgrades, and full thermostat replacement across Central Florida.

A service visit starts with a flat diagnostic fee and a full safety check of your wiring, transformer, and control board before we give you an estimate, so you know the cost before any repair work begins. If the thermostat itself is beyond repair, we’ll walk you through replacement options that match your existing HVAC system. Our repair services page covers what’s included in a typical visit, and you can see the full repair process on our step-by-step HVAC repair workflow. Schedule a diagnostic visit today and stop guessing at what’s wrong behind the wall.
Sources
Recommended
- Step by Step HVAC Repair Guide for Homeowners – Lucas Air Conditioning and Heating
- Things to Check Before Your AC Repair Call – Lucas Air Conditioning and Heating
- Step by step HVAC troubleshooting guide homeowners – Lucas Air Conditioning and Heating
- How to Troubleshoot HVAC for Reliable Comfort Results – Lucas Air Conditioning and Heating
