
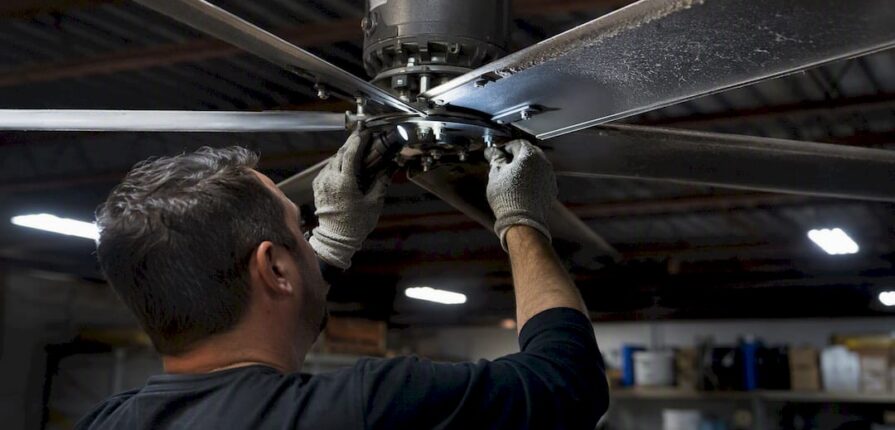
Clean the blades, kill the power with a full lockout/tagout, check guards and mounting hardware, inspect bearings, lubricate per the manufacturer’s spec, check belt tension if the fan has one, then run a test cycle. That’s the whole loop, whether you’re servicing a bedroom ceiling fan or a 24-foot HVLS unit hanging in a warehouse.
The one step nobody gets to skip: full Lockout/Tagout before you touch anything. Flipping a wall switch or breaker isn’t LOTO. Someone else can re-energize that circuit while your hand is inside the housing, and that mistake has killed people. Lock the source, tag it, verify zero energy with a meter.
Beyond that baseline, what you check depends on what you’re maintaining:
- Ceiling fans: wobble check, downrod tightness, blade dust buildup
- Exhaust fans: belt condition, housing corrosion, motor moisture
- Industrial axial/centrifugal units: bearing temperature, shaft alignment, vibration
- HVLS fans: mounting hardware, safety cables, gearbox lubrication (if not direct-drive)
Key Takeaways
A fan maintenance checklist only works if lockout/tagout comes first, checks are matched to fan type, and vibration or temperature trends drive the schedule instead of a fixed calendar alone.
| Point | Details |
|---|---|
| LOTO is non-negotiable | Lock and verify zero energy with a meter before opening any fan housing. |
| Match the checklist to fan type | Ceiling, exhaust, industrial, and HVLS fans each need different specific checks. |
| Follow trends, not single readings | Rising vibration, temperature, or current draw should shorten your service interval. |
| Log every visit | Recording lubricant, tension, and readings makes trend detection possible later. |
| Call in help for deeper repairs | Lucasair handles inspections and repairs when a fan issue goes beyond routine upkeep. |
Where To Verify OEM Specs And Standards
- ASHRAE for HVAC equipment standards and recommended practices
- Continental Fan’s installation and maintenance manual for belt run-in and LOTO procedures
- Always confirm torque, lubrication grade, and balancing tolerances against your fan’s own OEM manual
Table of Contents
- Core Safety Rules Behind Every Fan Maintenance Checklist
- Checklists By Fan Type: What Changes And What Doesn’t
- How Often Should You Inspect And Service Fans?
- What Belongs In A Fan Maintenance Toolkit
- Why Is My Fan Wobbling, Loud, Or Underperforming?
- What Should A Fan Inspection Log Capture?
- Fewer Emergency Calls Start With Fewer Skipped Checks
- Frequently Asked Questions
- Sources
Core Safety Rules Behind Every Fan Maintenance Checklist
Locking out a fan means nothing if you don’t verify it. After you lock and tag the disconnect, test with a CAT III multimeter to confirm zero voltage at the terminals before you open a housing or reach near a wheel. Skipping verification is how “the fan was locked out” turns into an incident report.
Fans qualify as rotating equipment under general machine-guarding rules, and that changes how you treat them. Guards need to stay in place except during active service, and PPE (cut-resistant gloves, eye protection, and insulated tools around live panels) isn’t optional around a spinning wheel or exposed belt.
It’s easy to think of a fan as “just a motor with blades,” but treat the entire assembly, including the mounting structure and fasteners, as the equipment. A loose lag bolt in a ceiling joist is just as much a fan failure as a bad bearing.
Not every fan needs the same clock. A fan running 24/7 in a foundry earns more frequent checks than one cycling occasionally in a clean office. Let vibration and noise trends guide you: flat readings mean you can stretch the interval; climbing readings mean tighten it.
Pro Tip: After any service, do a controlled “bump” start, energize briefly, confirm correct rotation direction, then shut down and observe. Log that bump test with the date and initials. It catches wiring reversals and loose components before you walk away.
Checklists By Fan Type: What Changes And What Doesn’t
A fan maintenance checklist that treats a ceiling fan and a 20-horsepower centrifugal blower the same way will fail both. The core logic (isolate power, inspect, lubricate, test) holds across every category, but the specifics shift hard.
Ceiling fans
Kill power at the breaker, not just the wall switch, since many fan/light combos share a circuit that can stay hot at the fixture. Wipe blades with a soft cloth. Check for wobble by spinning the blades slowly and watching for uneven tracking, which usually traces back to a bent blade, a loose bracket, or an unlevel downrod. Tighten the downrod coupling and blade screws, listen for motor hum or grinding, and run it for two full minutes on high before calling it done.
Exhaust fans (wall and roof mount)
Inspect the guard screen for lint, grease, or corrosion first. If your fan is belt-driven, check belt wear and tension since a slipping belt cuts airflow before you ever notice the motor struggling. Open the junction box and look for moisture intrusion, a common failure point on roof-mounted units exposed to weather. Confirm actual airflow at the grille, not just that the motor spins, since a seized damper can mask a healthy motor.
Industrial fans and blowers (axial and centrifugal)
This is where a fuller industrial fan and blower maintenance checklist earns its keep, running around 40 inspection points and aligning with OSHA’s lockout/tagout standard and SMRP best practices. After LOTO, visually inspect the wheel or impeller for buildup, cracks, or erosion. Check bearing temperature by hand or infrared thermometer, and grease per the OEM schedule, never more often than specified, since over-lubrication overheats bearings just as reliably as neglect. Verify shaft and coupling alignment, inspect belts and pulleys for glazing or wear, and take a vibration reading. A detailed field guide to belt tensioning, bearing lubrication, and coupling alignment walks through the measurement methods for each. Manufacturer guidance also calls for rechecking belt tension after the first 8 hours and again after 100 hours of run-in, since new belts stretch and seat during that window, per Continental Fan’s installation instructions.
HVLS fans
Verify the safety cable and every piece of mounting hardware before anything else. A loosened anchor or fatigued support beam, not the fan unit itself, causes most HVLS downtime. Inspect blade condition and confirm balance, then determine whether you’re dealing with a direct-drive or gearbox unit. Direct-drive HVLS fans need far less routine mechanical attention since there’s no gearbox to service, and many well-engineered units only require an annual inspection of hardware, blades, wiring, and controller function. If it’s gearbox-driven, follow OEM lubrication intervals exactly. Test the controller and any safety interlocks last.
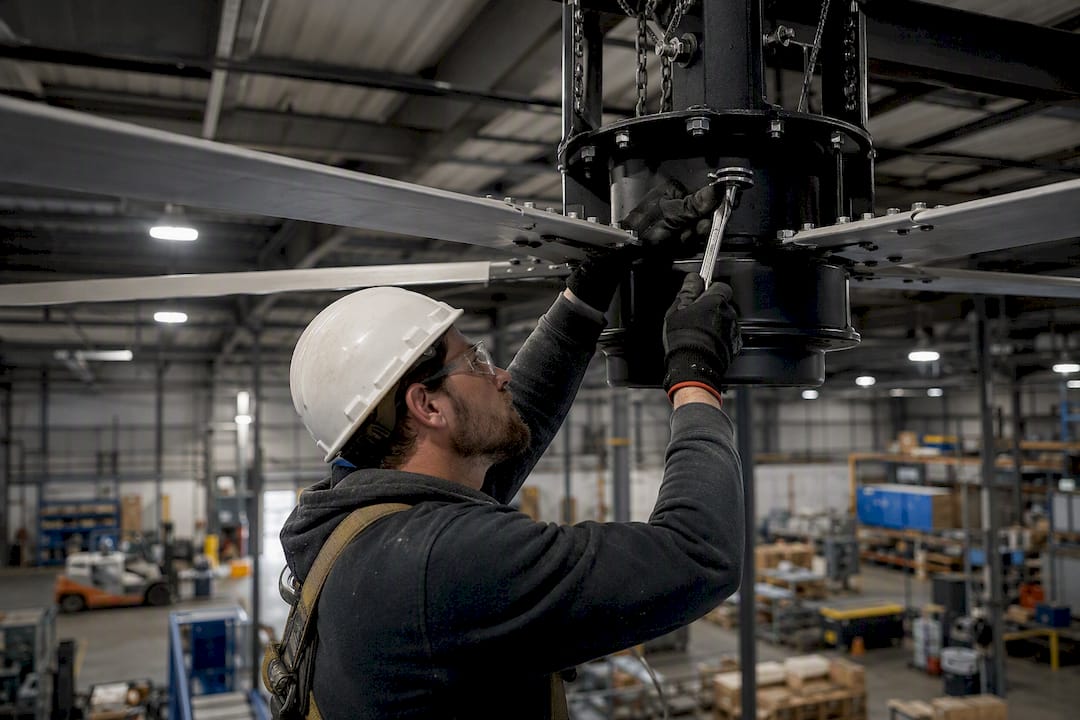
Dusty agricultural or manufacturing environments demand more frequent blade cleaning than a clean commercial office space, sometimes weekly versus quarterly.
Pro Tip: Clean every blade on the assembly, not just the visibly dirty ones. Uneven buildup doesn’t get removed when you clean one side; it just shifts the heavy spot, which can introduce new imbalance instead of fixing it.
How Often Should You Inspect And Service Fans?
Trend detection matters more than any single reading. A fan running 2°F hotter than last month isn’t a crisis; a fan that’s climbed 15°F over three inspections is.
| Frequency | Tasks |
|---|---|
| Daily/shift | Listen for abnormal noise, visual guard and debris check, quick run observation |
| Weekly | Belt tension spot check, mounting fastener check, clear intake/discharge path |
| Monthly | OEM lubrication, impeller inspection, vibration spot check, clean motor cooling fins |
| Quarterly | Fuller internal inspection, replace wear parts, review vibration and current draw trends |
| Annual | Open bearing/seal inspection, laser alignment check, dynamic balancing if indicated |
Move faster than the schedule when you see warning signs:
- Vibration amplitude climbing over consecutive checks
- Bearing temperature rising without a change in load
- Current draw shifting outside the normal range
This cadence tracks closely with the daily-through-annual structure recommended by industrial fan maintenance guides, which stress that a single data point rarely tells you much: it’s the trend line that flags trouble early.
What Belongs In A Fan Maintenance Toolkit
You don’t need a shop full of specialty equipment, but showing up without the right basics turns a 20 minute check into a wasted trip.
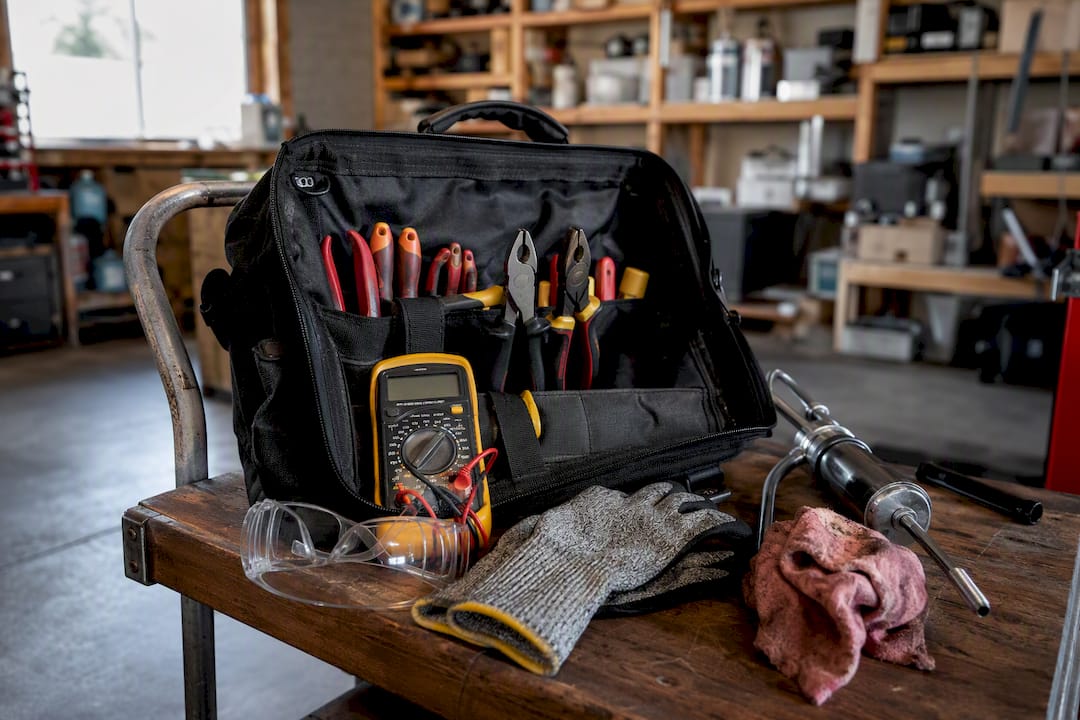
Safety and hand tools: lockout padlocks and tags, a CAT III multimeter, insulated hand tools, cut-resistant gloves, and eye protection.
Lubricants and mechanical parts: grease gun loaded with the OEM-specified NLGI grade, spare bearings matched to the fan’s model, and belts replaced in matched sets rather than individually, since mismatched belts wear unevenly.
Diagnostic instruments: a vibration analyzer or portable accelerometer, an infrared thermometer for bearing temperature, a tachometer or stroboscope for RPM and balance checks, and a clamp multimeter for current draw.
Consumables: replacement fasteners, gaskets, electrical connectors, soft-bristle brushes, compressed air, and lint-free rags for blade cleaning.
Pro Tip: Keep the fan’s model and serial number, along with OEM part numbers for its bearings and belts, written directly in your maintenance kit or CMMS record. Ordering the wrong bearing because you guessed at a spec wastes more time than the lookup ever would.
Why Is My Fan Wobbling, Loud, Or Underperforming?
Match the symptom to a cause before you start disassembling anything.
Wobble usually comes from uneven blade buildup, a bent blade, a loose fastener, or a genuine balance problem. Check buildup and fasteners first since they’re the fastest fixes.
Unusual noise points to bearing wear, misalignment, or a motor electrical fault. A grinding sound suggests bearings; a rhythmic knock suggests alignment; a hum with no rotation suggests electrical.
Low airflow traces back to a blocked intake or discharge, a damaged impeller, or a slipping belt.
Overheating often results from over-lubrication, blocked cooling fins, or an overloaded motor drawing more current than it should.
Run vibration and current draw together rather than in isolation. A high vibration reading with normal current usually means a mechanical issue like imbalance or misalignment; abnormal current with normal vibration points toward the motor or electrical side.
- Lock out and tag the fan, then verify zero energy.
- Inspect visually for buildup, damage, or loose hardware.
- Take vibration and temperature readings if the fan has run recently.
- Check current draw against the motor’s rated nameplate value.
- Address the fastest fix first (clean, tighten, clear an obstruction).
- If the problem persists, schedule deeper repair: rebalancing, bearing replacement, or motor evaluation.
- Reassemble, remove lockout, and run a controlled bump test before returning to service.
What Should A Fan Inspection Log Capture?
A log is only useful if it captures enough to spot a trend six months from now. At minimum, record: date, technician, fan ID and location, pre-service observations (noise, vibration, temperature), tasks completed, lubricant type and quantity, belt tension or torque values, parts replaced, next scheduled check, and a signature.
Trends in vibration, temperature, and current draw only become visible when someone bothered to write the numbers down last time.
Why Proactive Fan Care Beats Reactive Repairs
The fans we get called out for almost always share the same story: buildup that shifted the balance, a bearing that ran dry for months, or mounting hardware nobody checked since installation. None of that fails overnight. A checklist followed on schedule catches it while it’s still a five-minute fix, not an emergency call that shuts down a building or a production line. Scheduled preventive checks protect your staff and your budget in equal measure. When something’s past a routine fix, bring in a professional rather than guessing at a bearing replacement.
Fewer Emergency Calls Start With Fewer Skipped Checks
Lucas Air handles the HVAC-side fan and ventilation maintenance that this checklist assumes you’re already doing, so Central Florida property managers and homeowners get one team covering both the routine checks and the repairs that follow when something’s past a DIY fix.

If your building’s exhaust fans, blower motors, or ventilation systems are due for a professional look, consider a Professional Air conditioning Coil Cleaning Service to ensure deep cleaning beyond routine maintenance. Preventive maintenance agreements exist precisely so bearing wear and belt slippage get caught during a scheduled visit instead of a 2 a.m. service call. If your last inspection turned up more than a cleaning was going to fix, request a repair evaluation through Lucasair’s residential and commercial installation and maintenance services and get a technician looking at it this week.
Frequently Asked Questions
How often should I clean fan blades?
It depends on the environment. Clean commercial spaces might only need quarterly attention, while dusty industrial or agricultural sites often need weekly cleaning to prevent buildup-driven imbalance.
Is a wall switch enough to shut off a fan for maintenance?
No. A wall switch isn’t lockout/tagout. Someone can re-energize the circuit while you’re working, so always lock and tag the actual disconnect and verify zero voltage before servicing.
What’s the difference between condition-based and calendar-based fan maintenance?
Calendar-based maintenance follows a fixed schedule regardless of how the equipment is running. Condition-based maintenance adjusts the interval based on vibration, temperature, or current draw trends, tightening the schedule when readings climb.
Do HVLS fans need as much maintenance as industrial blowers?
Generally less, especially direct-drive models, which skip the gearbox maintenance that drives most upkeep on other industrial equipment. Many still only need annual inspection, though mounting hardware and safety cables need checking every time.
What’s the biggest warning sign that a fan needs professional attention?
Rising vibration combined with rising bearing temperature or unusual current draw. That combination usually points to a mechanical problem worth escalating past routine maintenance.
Sources
- Industrial Fan and Blower – Manufacturing FREE | POPProbe
- Comprehensive Field Guide: Industrial Fan and Blower Maintenance – Balancing, Belt Tensioning, Bearing Lubrication, and Vibration Limits – UNITEC Industrial Procurement
- HVLS Fan Maintenance: What Every Facility Manager Needs To Know | Humongous Fan
- Industrial Fan Maintenance: Checklist and Failure Prevention
- Industrial Fans & Blowers – Installation & Maintenance (Continental Fan) PDF
Recommended
- HVAC Maintenance Checklist for 2026: Avoid Costly Repairs – Lucas Air Conditioning and Heating
- 7 Steps to a Complete Home HVAC Maintenance Checklist
- Step-by-Step AC Maintenance: Keep Your Florida Home Cool – Lucas Air Conditioning and Heating
- HVAC Maintenance Tools List: What Every User Needs – Lucas Air Conditioning and Heating
