TL;DR:
- Duct cleaning involves removing dust, debris, and contaminants from HVAC systems using source removal methods. Proper procedures, equipment, and maintenance are necessary to ensure effective and lasting air quality improvements. DIY cleaning cannot match professional standards and may cause more harm if done improperly.
Step by step duct cleaning is the systematic process of physically removing dust, debris, and contaminants from HVAC ducts and components to improve airflow, air quality, and system efficiency. The industry term for this work is “source removal cleaning,” and it follows a defined methodology recognized by the National Air Duct Cleaners Association (NADCA) and referenced by the U.S. Environmental Protection Agency (EPA). Done correctly, the process covers not just the ducts themselves but also registers, filters, and key HVAC components. This guide walks homeowners and property managers through every stage, from the tools you need to the maintenance habits that keep your system clean long after the job is done.
What tools and preparations do you need before duct cleaning?
Preparation determines whether the cleaning works or makes things worse. Skipping this stage is the most common reason homeowners end up with more dust in the air after cleaning than before.
Essential tools for the job
You need the right equipment before touching a single vent cover. A HEPA vacuum is non-negotiable. Standard shop vacuums lack the filtration to capture fine particulates and will blow contaminants back into the room. Rotary brushes and flexible rods let you reach debris inside straight and curved duct sections. A flashlight or inspection camera helps you assess contamination levels before you start. Screwdrivers remove register covers, and microfiber cloths wipe down surfaces without spreading dust.
| Tool | Purpose |
|---|---|
| HEPA vacuum | Captures fine dust and allergens without recirculating them |
| Rotary brush kit | Agitates and loosens debris from duct walls |
| Inspection flashlight or camera | Assesses contamination depth before cleaning |
| Screwdrivers | Removes register and vent covers |
| Microfiber cloths | Wipes registers and vent surfaces clean |
| N95 mask and gloves | Protects you from dust, mold spores, and debris |
Preparation steps before you begin
Turn off the HVAC system completely before starting. Running the system during cleaning spreads loosened debris through every room. Seal off supply and return vents in rooms you are not actively cleaning. This creates a contained work zone and prevents cross-contamination. Check your HVAC system’s condition before proceeding. If you see standing water, visible mold colonies, or evidence of vermin, stop immediately and call a professional.
Pro Tip: Cover furniture and flooring near work areas with plastic sheeting. Even with a HEPA vacuum running, fine dust escapes during agitation and settles on surfaces within a few feet of open vents.
What is the step by step duct cleaning process?
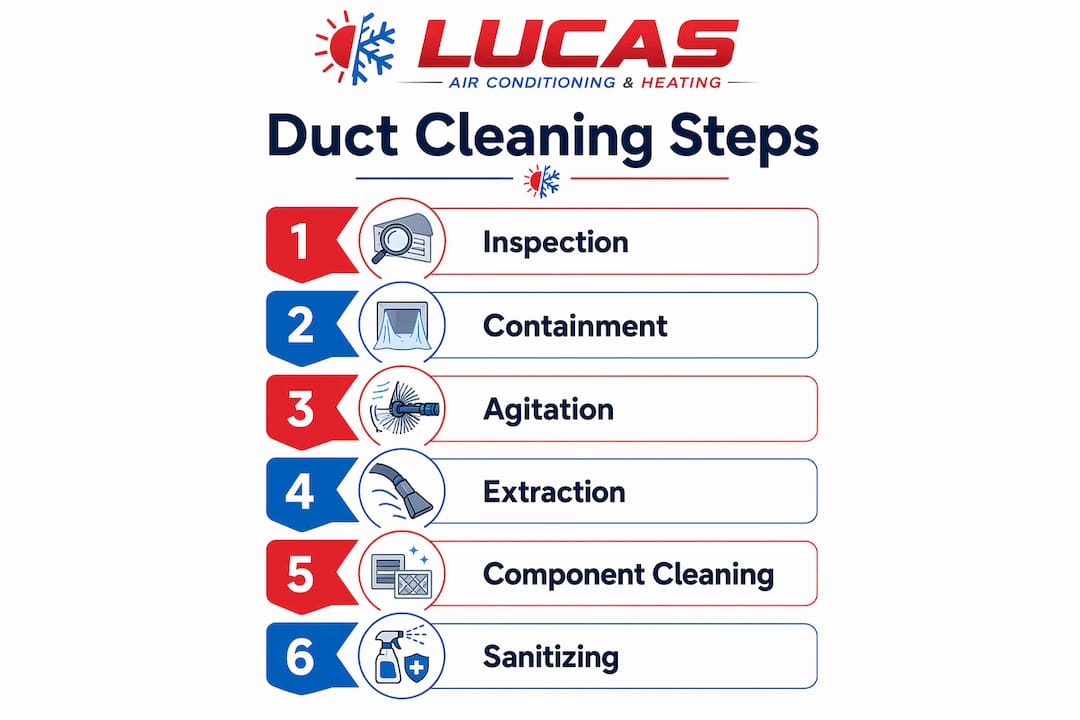
The standard professional process involves six stages: inspection, containment, agitation, HEPA vacuum extraction, component cleaning, and optional sanitizing. Each stage builds on the last. Skipping any one of them reduces the effectiveness of the whole job.
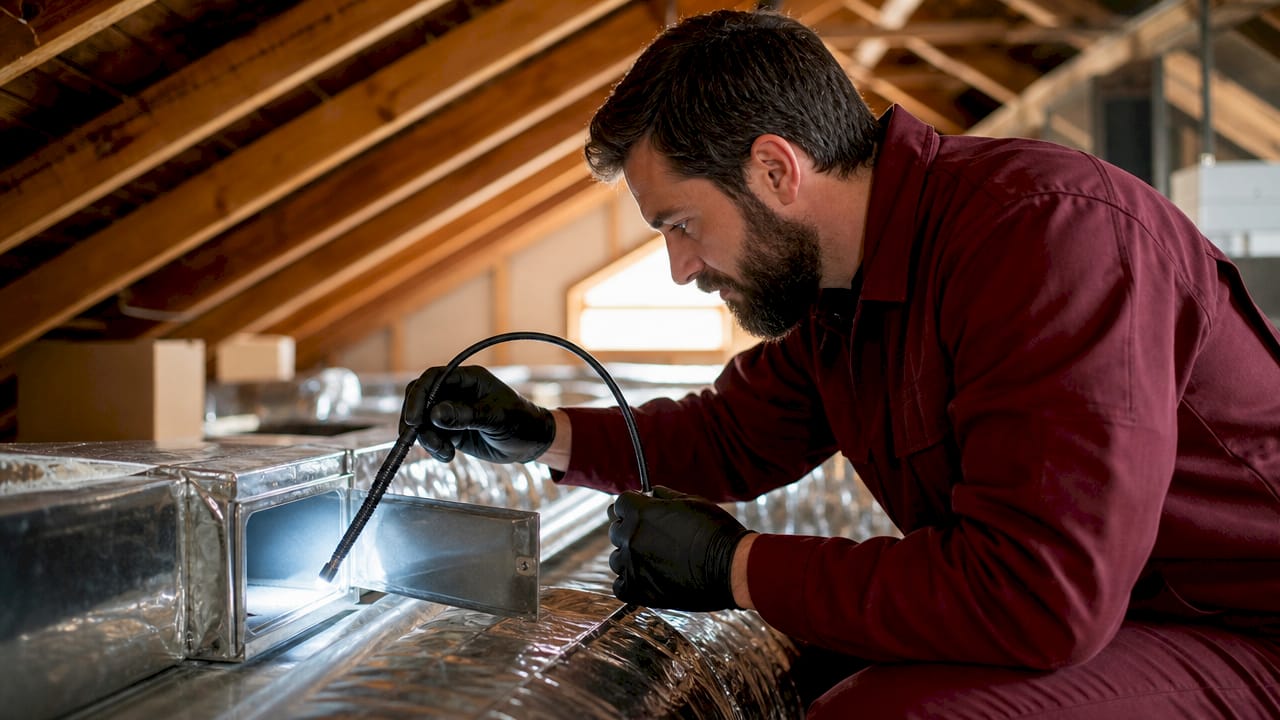
Step 1: Initial inspection
Use a flashlight or a flexible inspection camera to look inside each duct section. You are checking for dust buildup thickness, debris type, moisture stains, and any physical damage to duct walls. Document what you find. This tells you how aggressive your cleaning needs to be and whether any sections need repair before cleaning proceeds.
Step 2: Containment and negative pressure
Seal all supply registers except the one you are actively working on. Connect a HEPA vacuum to the main trunk line or a central return to create negative pressure inside the duct system. Effective source removal requires continuous negative pressure of at least 2,000 cfm to prevent loosened debris from escaping back into living spaces. This step is where most DIY efforts fall short. Consumer-grade vacuums cannot generate that level of suction.
Step 3: Mechanical agitation
Insert a rotary brush or air whip into each duct section and work it back and forth to break up compacted dust and debris. Start at the farthest point from the vacuum connection and work toward it. This pushes loosened material toward the extraction point rather than away from it. Flexible ducts and fiberglass-lined ducts require softer brush heads. Aggressive tools on delicate materials can tear liners and reduce system lifespan.
Step 4: HEPA vacuum extraction
With the rotary brush loosening debris and negative pressure pulling it toward the vacuum, run the HEPA unit continuously throughout agitation. Do not stop the vacuum between duct sections. Interrupting suction allows loosened particles to resettle. Work through every branch duct systematically before moving to the next section.
Step 5: Component cleaning
True duct cleaning includes the evaporator coil, blower motor, and drain pan, not just the duct passages. These components accumulate moisture and biological growth that recontaminates clean ducts within weeks if left dirty. Wipe down register covers with a damp microfiber cloth. Replace the air filter immediately after cleaning. Replacing the filter post-cleaning captures residual dust loosened during the process before it recirculates.
Step 6: Optional sanitizing
Apply an EPA-registered antimicrobial spray to duct interiors only if contamination warrants it. Sanitizing is not a substitute for physical removal. It is a final step after all debris has been extracted. Skipping the physical cleaning and jumping to sanitizing is a common shortcut that does not improve air quality.
Pro Tip: Take photos inside the ducts before and after cleaning. This gives you a baseline for future inspections and helps you judge whether a professional service did a thorough job.
Professional vs. DIY cleaning: what each approach covers
| Factor | DIY cleaning | Professional cleaning |
|---|---|---|
| Reach | First few feet of ductwork | Full duct system including trunk lines |
| Suction power | Consumer vacuum (low cfm) | Truck-mounted or portable unit (2,000+ cfm) |
| Component cleaning | Registers and filter only | Coil, blower, drain pan, and ducts |
| Time required | 2–4 hours for partial cleaning | 3–5 hours for full system |
| Contamination risk | Moderate if tools are wrong | Low when NADCA standards are followed |
DIY duct cleaning is limited to the first few feet of ductwork. Attempting to go deeper without professional equipment risks pushing contaminants further into the system.
What mistakes should you avoid during duct cleaning?
Most duct cleaning problems come from one of three sources: wrong tools, ignored warning signs, or incomplete work. Knowing what to watch for saves you from making the job harder than it needs to be.
- Using a standard shop vacuum. It lacks HEPA filtration and recirculates fine particles into the room. Always use a HEPA-rated unit.
- Skipping the inspection step. Cleaning without knowing what is in the ducts risks spreading mold spores or vermin waste throughout the system.
- Proceeding past hazard signs. Vermin droppings, standing water, or visible mold require professional remediation, not DIY cleaning. These are health hazards, not just cleaning challenges.
- Over-brushing flexible ducts. Flexible ductwork tears easily. Use soft-bristle brushes and light pressure on any section that is not rigid sheet metal.
- Cleaning ducts but not components. Dirty coils and blower motors recontaminate clean ducts quickly. The whole system needs attention, not just the passages.
Pro Tip: If airflow feels weaker or noisier after cleaning, check for a collapsed flexible duct section. Aggressive brushing can dislodge internal supports, causing the duct to partially close.
Noisy airflow after cleaning sometimes signals a loose register cover or a duct connection that was disturbed during work. Check every connection point before reassembling. If the noise persists, have a technician inspect the system. Attempting to force-fix a damaged duct section without proper materials creates leaks that reduce efficiency and pull unconditioned air into the system.
How do you maintain clean ducts after the cleaning is done?
Clean ducts stay clean longer when the whole HVAC system is maintained properly. The EPA emphasizes that preventive maintenance, not routine cleaning alone, drives the best indoor air quality outcomes. That means filter changes, moisture control, and proper sealing matter more than cleaning frequency.
- Change filters on schedule. A clogged filter forces the system to pull air around the filter, bypassing it entirely and loading the ducts with debris. Check filters monthly and replace them at least every 90 days, or more often if you have pets or live in a dusty environment.
- Control indoor moisture. Humidity above 60% creates conditions where mold grows inside ducts. Use a dehumidifier in humid climates and fix any plumbing leaks near duct runs promptly.
- Seal and insulate ducts in unconditioned spaces. Ducts in attics, crawlspaces, and garages collect condensation and pull in unfiltered air through gaps. Sealing these with mastic or foil tape and adding insulation reduces both contamination and energy loss.
- Schedule cleaning based on your home’s conditions. Industry standards recommend professional cleaning every 3–5 years, adjusted for pets, recent renovations, or visible contamination.
- Pair duct cleaning with broader HVAC maintenance. A full HVAC preventative maintenance program addresses the coil, blower, refrigerant levels, and electrical connections that affect how clean your ducts stay over time.
Keeping a log of filter change dates and any unusual smells or airflow changes gives you a clear picture of when the system needs attention. Property managers with multiple units benefit especially from a written maintenance schedule tied to each unit’s HVAC system.
Key Takeaways
Effective duct cleaning requires source removal methodology, the right tools, and whole-system attention to deliver lasting improvements in indoor air quality.
| Point | Details |
|---|---|
| Source removal is the standard | True cleaning uses negative pressure and mechanical agitation, not surface wiping alone. |
| DIY has real limits | Consumer vacuums cannot reach full duct depth or generate the suction needed for safe extraction. |
| Components matter as much as ducts | Dirty coils and blower motors recontaminate clean ducts within weeks if left unaddressed. |
| Hazard signs require professionals | Mold, moisture, or vermin evidence calls for remediation, not a DIY cleaning session. |
| Maintenance extends cleaning results | Filter changes, moisture control, and duct sealing keep ducts cleaner between professional visits. |
What I’ve learned after years of watching duct cleaning go wrong
Most homeowners think duct cleaning is a one-time fix. They schedule a service, feel good about it for a few weeks, and then wonder why the dust is back. The real issue is almost never the ducts in isolation.
The systems I have seen perform best over time are the ones where the owner treats duct cleaning as one part of a larger maintenance habit, not a standalone event. A clean duct connected to a dirty evaporator coil is like washing your hands and then touching a grimy doorknob. The contamination cycle restarts immediately.
The other thing I have seen consistently is homeowners underestimating what “professional” actually means in this context. A truck-mounted vacuum generating 2,000+ cfm is not the same category of tool as a shop vacuum with a brush attachment. The evidence on duct cleaning shows that source removal methodology, done with proper equipment, is what actually moves the needle on air quality. Everything else is surface work.
My honest recommendation: if your home is more than five years old and has never had a professional cleaning, start there. Then build a maintenance routine around it. The cleaning is the reset. The maintenance is what keeps the system performing.
— Lucasair
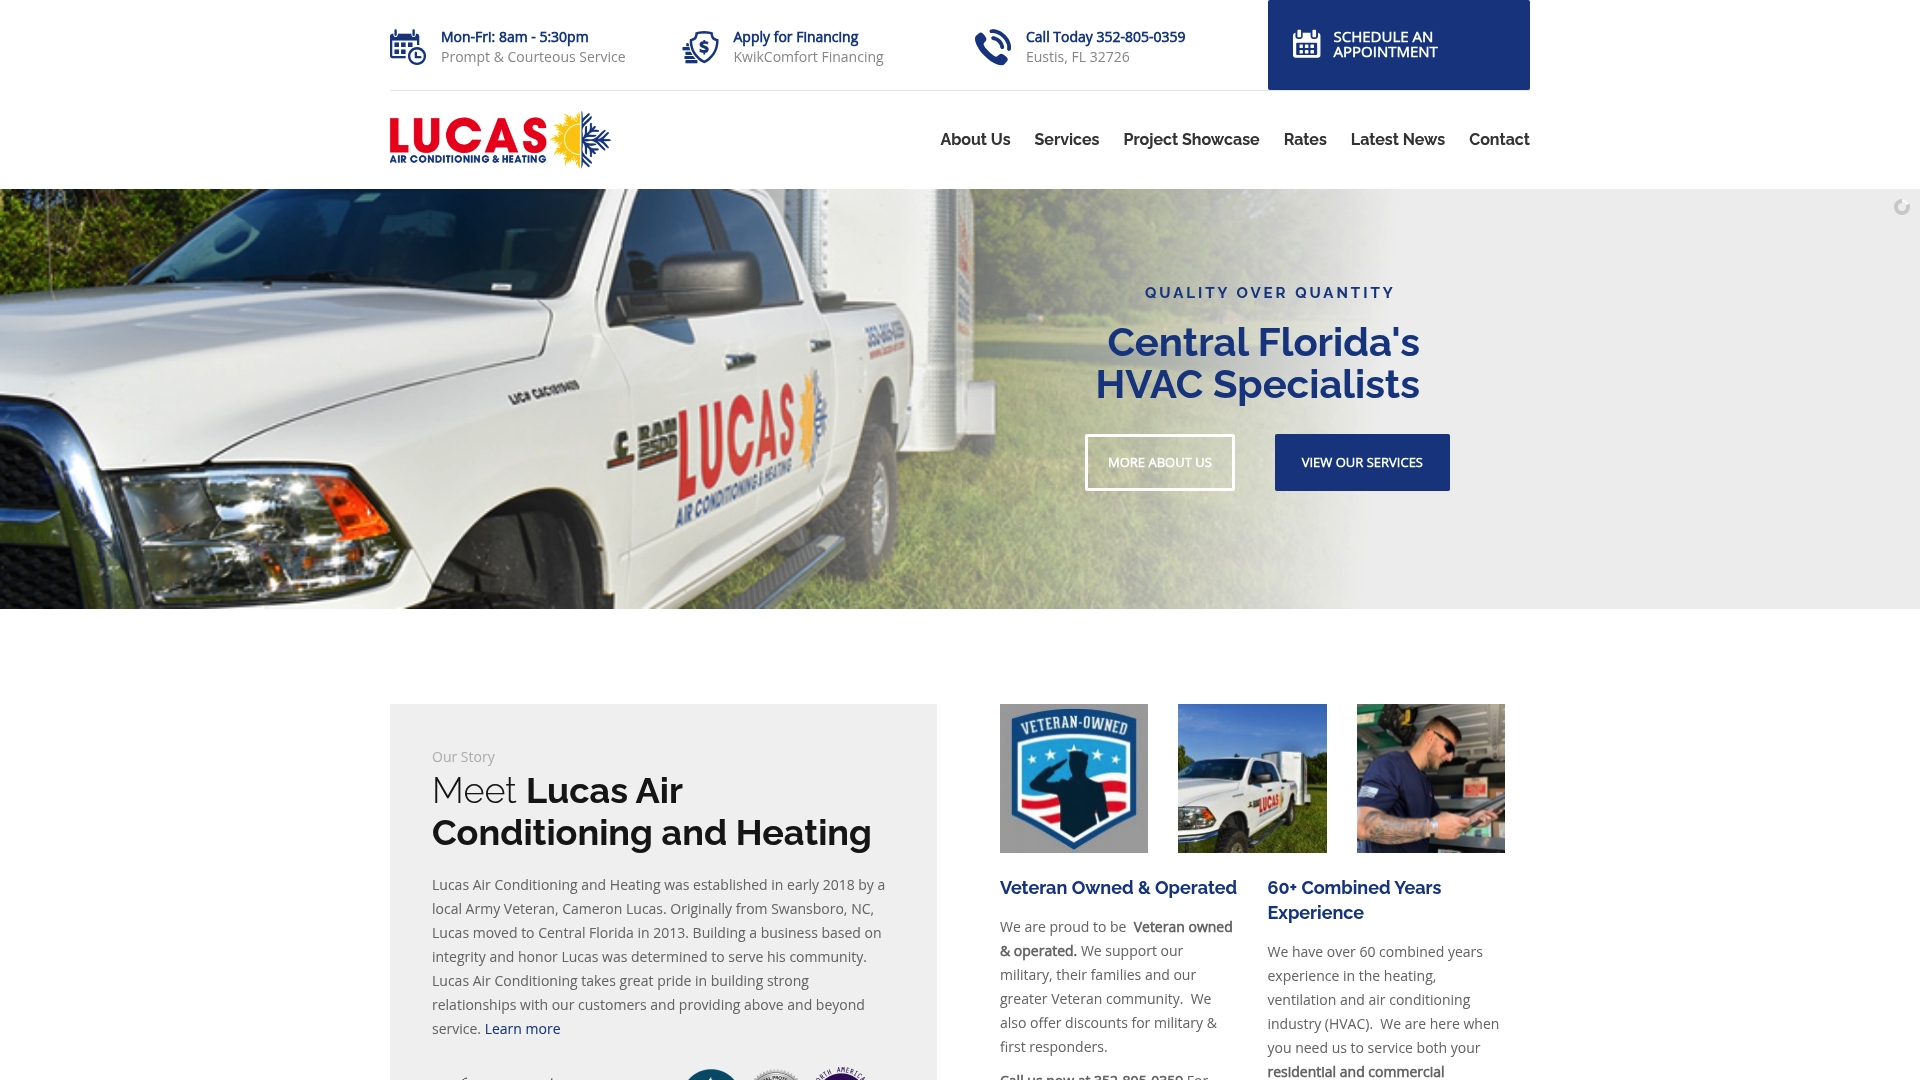
Lucasair’s duct cleaning and HVAC maintenance services
Lucasair serves homeowners and property managers across Central Florida with duct cleaning and full HVAC maintenance programs built around NADCA standards. The team handles the complete source removal process, including coil, blower, and drain pan cleaning, so your system gets a genuine reset rather than a partial job.
Beyond duct cleaning, Lucasair offers preventative maintenance agreements that keep your entire HVAC system running efficiently year-round. If your system needs repairs after an inspection, the residential repair service covers the full range of HVAC issues. Contact Lucasair to schedule an inspection or get a quote for your home or property.
FAQ
What is duct cleaning, exactly?
Duct cleaning is the physical removal of dust, debris, and contaminants from HVAC duct passages and connected components using negative pressure and mechanical agitation. The industry standard term is source removal cleaning, as defined by NADCA.
How long does professional duct cleaning take?
Professional residential duct cleaning typically takes 3–5 hours, depending on system size and contamination level.
How often should ducts be cleaned?
Industry guidelines recommend professional cleaning every 3–5 years, with more frequent service for homes with pets, recent renovations, or visible contamination.
Can I clean my own ducts at home?
You can clean registers and the first few feet of ductwork yourself, but full system cleaning requires professional equipment. Overextending DIY efforts risks pushing contaminants deeper into the system or damaging duct materials.
Does duct cleaning actually improve air quality?
The EPA notes that preventive maintenance, including filter changes and moisture control, drives the best indoor air quality results. Professional source removal cleaning contributes meaningfully when contamination is present, but it works best as part of a broader maintenance program.
