TL;DR:
- Regular maintenance of your pool heater, including coil cleaning, water chemistry management, and timely professional inspections, prolongs system lifespan and prevents costly repairs. Following a structured routine ensures optimal performance, reduces operating costs, and helps identify issues early before they escalate. Professional services are essential annually to verify refrigerant levels, address scaling, and ensure system safety, especially for heat pumps and gas heaters.
Your pool heater or heat pump is one of the most expensive and least understood pieces of equipment on your property. When it fails mid-season, you are looking at repair bills that often exceed $1,000 — plus weeks of cold water while you wait for parts. A structured step by step pool HVAC maintenance routine prevents exactly that. This guide walks you through everything: the tools you need, the exact sequence of maintenance tasks, what to check when something goes wrong, and how to know when a professional needs to take over. Follow this and your system will run better, cost less to operate, and last significantly longer.
Table of Contents
- Key Takeaways
- Step by Step Pool HVAC Maintenance: Before You Start
- Performing the maintenance: the full sequence
- Troubleshooting common pool HVAC issues
- Verifying your work and knowing when to call a pro
- My take on pool HVAC maintenance after years in the field
- How Lucasair can help you go further
- FAQ
Key Takeaways
| Point | Details |
|---|---|
| Preparation prevents problems | Gather tools, check safety precautions, and inspect components before touching anything mechanical. |
| Sequential cleaning matters | Work through coils, burners, filters, and drains in order to avoid missing critical steps. |
| Troubleshoot before replacing | Most performance issues trace back to flow restrictions, dirty components, or simple electrical faults. |
| Water chemistry is part of HVAC care | Keeping the Calcium Saturation Index in range protects your heat exchanger from corrosion and scaling. |
| Annual professional service doubles lifespan | Combining DIY upkeep with pro inspections is what separates a 7-year system from a 15-year one. |
Step by Step Pool HVAC Maintenance: Before You Start
Getting organized before you touch the system is what separates a clean, effective maintenance session from one that creates new problems. Rushing in without the right materials or knowledge of what you are working with is how components get damaged or safety hazards get created.
Tools and materials you will need
| Item | Purpose |
|---|---|
| Multimeter | Testing voltage, capacitor charge, and continuity |
| Coil fin comb | Straightening bent aluminum fins on heat pump coils |
| Soft-bristle brush and shop vac | Cleaning burner trays and debris without damage |
| Garden hose with spray nozzle | Rinsing heat pump coils gently from inside out |
| Drain pan tablets | Preventing algae and clogs in condensate lines |
| Pressure gauge | Checking filter pressure and water flow |
| Manometer or gas pressure gauge | Verifying gas supply pressure on gas heaters |
| Replacement air filter (if applicable) | Swapping out clogged filtration media |
Before opening any panel, cut power to the unit at the breaker and at the disconnect box near the equipment pad. For gas heaters, shut off the gas supply valve. Never skip this step. HVAC components carry capacitors that hold lethal voltage even after the breaker is off.
Also review your pool water chemistry before starting. Poor water chemistry is the top cause of heat exchanger failures, and maintaining the Calcium Saturation Index between -0.6 and 0.6 is non-negotiable for protecting internal components.
Pro Tip: Take photos of all wiring connections before you disconnect anything for cleaning. It takes 30 seconds and saves hours of guesswork when reconnecting.
Run through this quick checklist before starting maintenance:
- Confirm power is off at breaker and disconnect
- Note any error codes displayed before shutdown
- Check the filter pressure gauge reading (baseline)
- Inspect the area around the unit for pest nests, plant overgrowth, or debris
- Confirm water chemistry is balanced
Performing the maintenance: the full sequence
This is where your pool HVAC upkeep guide pays off. Work through these steps in order. Each one builds on the last, and skipping ahead creates blind spots that cause callbacks.
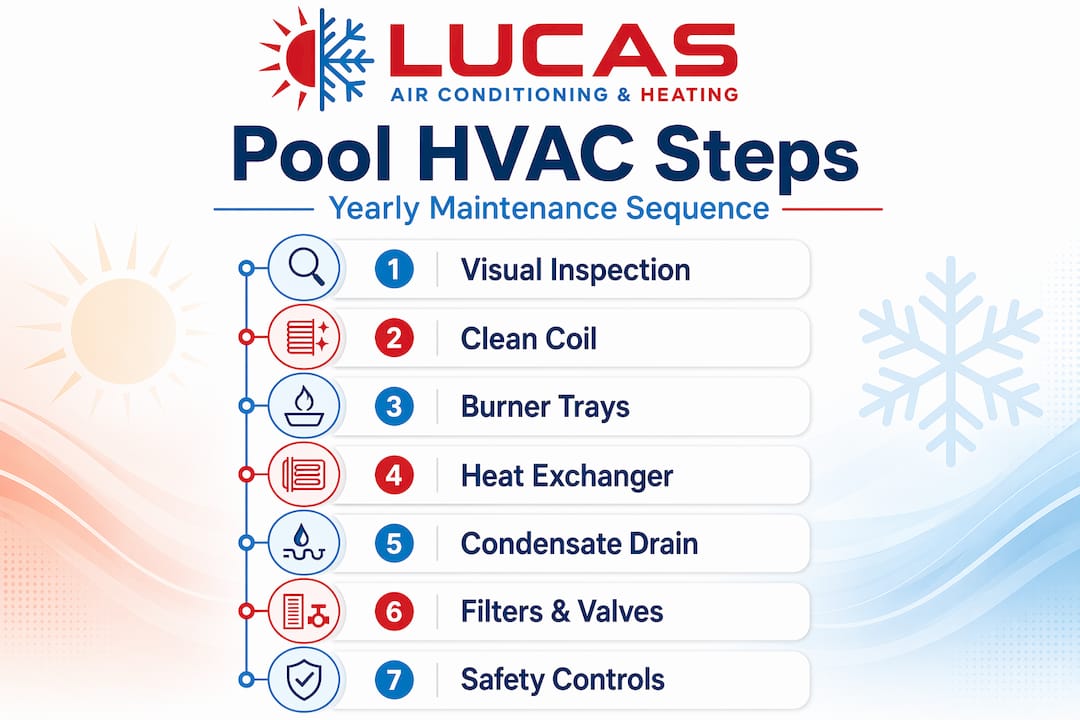
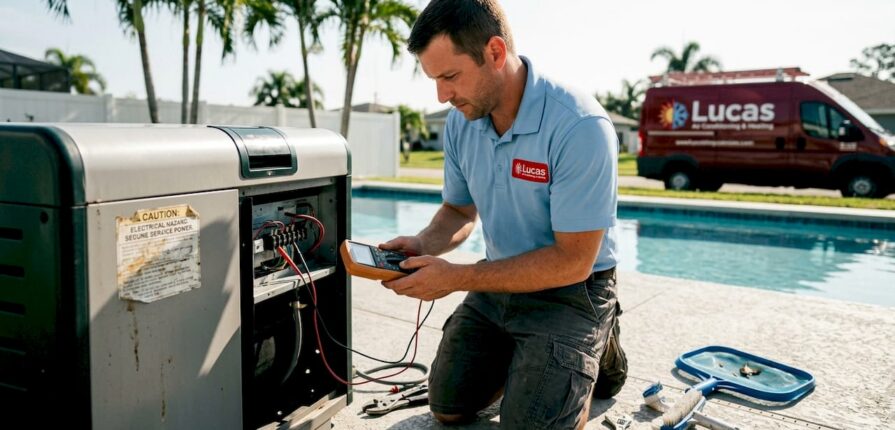
Step 1: Visual and operational pre-inspection
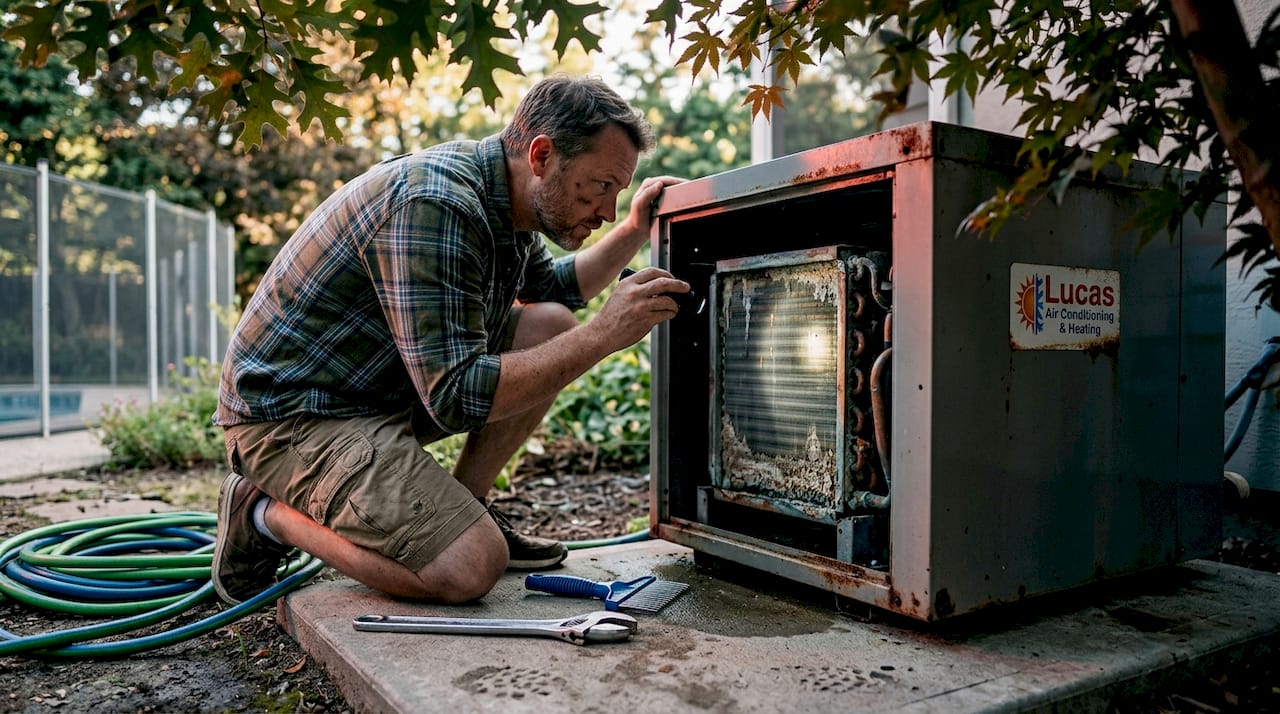
Before cleaning anything, document what you see. Look for water stains, rust streaks, or corrosion on the cabinet exterior. Check for oil spots near refrigerant lines on a heat pump, which signal a potential leak. If the unit was recently running, listen back to your memory: grinding, clicking, or short cycling are all red flags to investigate during the session.
Check the error code history if your unit has a digital display. Many modern pool heaters store fault codes that tell you exactly what failed and when. Write them down.
Step 2: Clean the heat pump coil
This step applies specifically to heat pump systems. The coil is the large vertical or angled fin array on the exterior of the unit. Debris, cottonwood fluff, and algae love to pack into it, and restricted airflow destroys efficiency fast.
Using a garden hose, spray from the inside out. This pushes debris away from the fins rather than deeper in. Use low pressure and a wide spray pattern. Pressure washers damage coils by bending aluminum fins and permanently restricting airflow. If fins are already bent, use a fin comb to gently straighten them before washing.
Step 3: Clean burner trays on gas heaters
Spider webs and debris obstruct burner performance especially in Florida where warm weather drives insects year-round. Use a soft brush and shop vac to clean the burner tray. Do not use compressed air, which can blow debris into the heat exchanger rather than removing it. Inspect each burner port for blockages. A burner firing with a yellow or orange flame instead of blue signals incomplete combustion and needs immediate attention.
Step 4: Check and clean the heat exchanger
Heat exchanger scaling causes capacity drops after 3 to 5 years in hard-water pools, and it accelerates when water chemistry drifts. Inspect the heat exchanger tubes for scale deposits or discoloration. Light scaling can sometimes be addressed with a diluted acid flush or approved soaking solution, but significant deposits require professional descaling. Do not skip this step. A scaled heat exchanger that runs hot enough to compensate will crack much sooner than one that is kept clean.
Step 5: Clear the condensate drain
This is the most skipped step in DIY pool HVAC maintenance, and it causes some of the most expensive damage. Pooling water inside the unit leads to corrosion and misdiagnosed faults that can cost hundreds to diagnose incorrectly. Locate the condensate drain line, flush it with water, and drop a drain pan tablet into the collection pan to inhibit algae. A blocked drain that goes unchecked for a season can rust out sheet metal and short control boards.
Pro Tip: Set a phone reminder to check the condensate drain monthly during heavy use months. It takes two minutes and prevents failures that look like major electrical problems.
Step 6: Inspect filters, valves, and bypass settings
Maintaining filter pressure between 8 and 12 PSI is critical for heat pump performance. A clogged filter restricts flow, triggers shutdowns, and gets misdiagnosed as a refrigerant or compressor issue. Clean or backwash the filter, then confirm your bypass valve is set so enough water passes through the heater to satisfy flow switch requirements. Too much bypass and the heater starves; too little and you stress the system.
Step 7: Test ignition, gas pressure, and safety controls
For gas heaters, restore gas and power and test the ignition sequence. The pilot or electronic igniter should fire within two or three attempts. If it does not, check the igniter electrode for carbon buildup and clean it carefully. Have a technician verify gas supply pressure if ignition is inconsistent, since low pressure upstream causes intermittent heating failures that are hard to pin down.
Test the high-limit switch and pressure switch by confirming they reset correctly after a normal heating cycle.
Seasonal adjustments
Seasonal maintenance needs vary significantly. Spring opening calls for the full sequence above plus a refrigerant pressure check on heat pumps. Summer upkeep focuses on monthly filter checks and coil rinses. Fall closing involves draining lines in freeze-risk climates and covering heat pump units. In Central Florida, true winterizing is rarely needed, but fall is still the right time for a full inspection before the heater gets heavy use again.
Troubleshooting common pool HVAC issues
Even with good maintenance habits, problems occur. Knowing how to read the symptoms correctly saves you money and prevents you from replacing parts that were never the problem.
Flow problems are the most common culprit. Checking water flow resolves up to 40% of pool heat pump performance issues. Before diagnosing refrigerant or electrical faults, confirm your filter is clean, the pump is primed, and all valves are fully open. A partially closed valve or air lock will trigger the exact same error codes as a refrigerant shortage.
Common issues and what they actually mean:
- Clicking sound with no compressor activity: This points to capacitor failure, not a failed compressor. Capacitors are relatively inexpensive and a professional can replace them quickly.
- Heater fires then immediately shuts off: Check the high-limit switch and water flow rate. Overheating and low flow are the two most common triggers.
- Uneven or yellow flame on gas heater: Dirty or obstructed burners. Vacuum the tray and inspect ports before assuming a gas valve issue.
- Unit runs but water temperature does not rise: Scaling on the heat exchanger is the most likely cause after confirming adequate flow.
- Breaker trips repeatedly: An electrical fault inside the unit needs a licensed technician. Do not reset and continue operating.
Water chemistry is not a separate concern from your HVAC system. Letting your Calcium Saturation Index drift outside the recommended range will corrode your heat exchanger from the inside out, and no amount of cleaning recovers a failed exchanger. Treat pool chemistry as part of your preventative maintenance routine.
Pro Tip: Never use a pressure washer on coil fins. Even a brief burst at the wrong angle will flatten delicate aluminum fins and reduce heat transfer permanently. A garden hose is all you need.
Verifying your work and knowing when to call a pro
After completing your maintenance sequence, restore power and run the heater through a full cycle. Watch for these confirmation signs that the session was successful:
- The unit reaches set temperature without short cycling
- Flame on a gas heater burns steady blue with no flickering
- Filter pressure reads within the normal range and holds steady
- No error codes appear on the display during operation
- No new sounds or vibrations during startup or running
If everything checks out, your system is in good shape. Log the date and what you did. That log becomes valuable when a technician visits, because it shows the service history and helps pinpoint what has changed.
Annual professional maintenance extends pool heater lifespan to 10 to 15 years compared to 5 to 8 years without it. DIY maintenance covers a lot, but a licensed technician brings tools and access you do not have: refrigerant gauges, combustion analyzers, and manufacturer-specific diagnostic equipment. Schedule a professional inspection at least once per year, ideally in the fall before high-demand season begins.
For pool heat pumps, look for service that includes refrigerant level verification, electrical connection tightening, and a full efficiency test. For gas heaters, have the technician check gas valve operation, heat exchanger integrity, and flue draft. These tasks go beyond what any homeowner should attempt without proper certification.
Scheduling pool heater service in advance rather than waiting for a breakdown saves you money and guarantees availability when you need it most.
My take on pool HVAC maintenance after years in the field
I have seen pool owners spend four times more on emergency repairs than they would have spent on a simple annual tune-up. The math never makes sense until it is too late. What surprises people most is how small the margin is between a system that runs perfectly and one that is quietly degrading.
The condensate drain issue is a perfect example. I have seen control boards replaced at $600 a piece because nobody thought to check a $2 drain tablet. The rust that forms when standing water sits inside a unit is invisible until it causes an electrical short, and by then the repair cost looks like a major failure.
My honest advice: treat your pool heating system maintenance the same way you treat oil changes. You do not wait for the engine to seize. You put it on a schedule and you do it before anything goes wrong. Combine that with consistent water chemistry management, because a balanced pool that keeps the Calcium Saturation Index in range will extend your heat exchanger life by years. The pool HVAC systems that last are not the most expensive ones. They are the ones that get attention before problems start.
— Lucasair
How Lucasair can help you go further
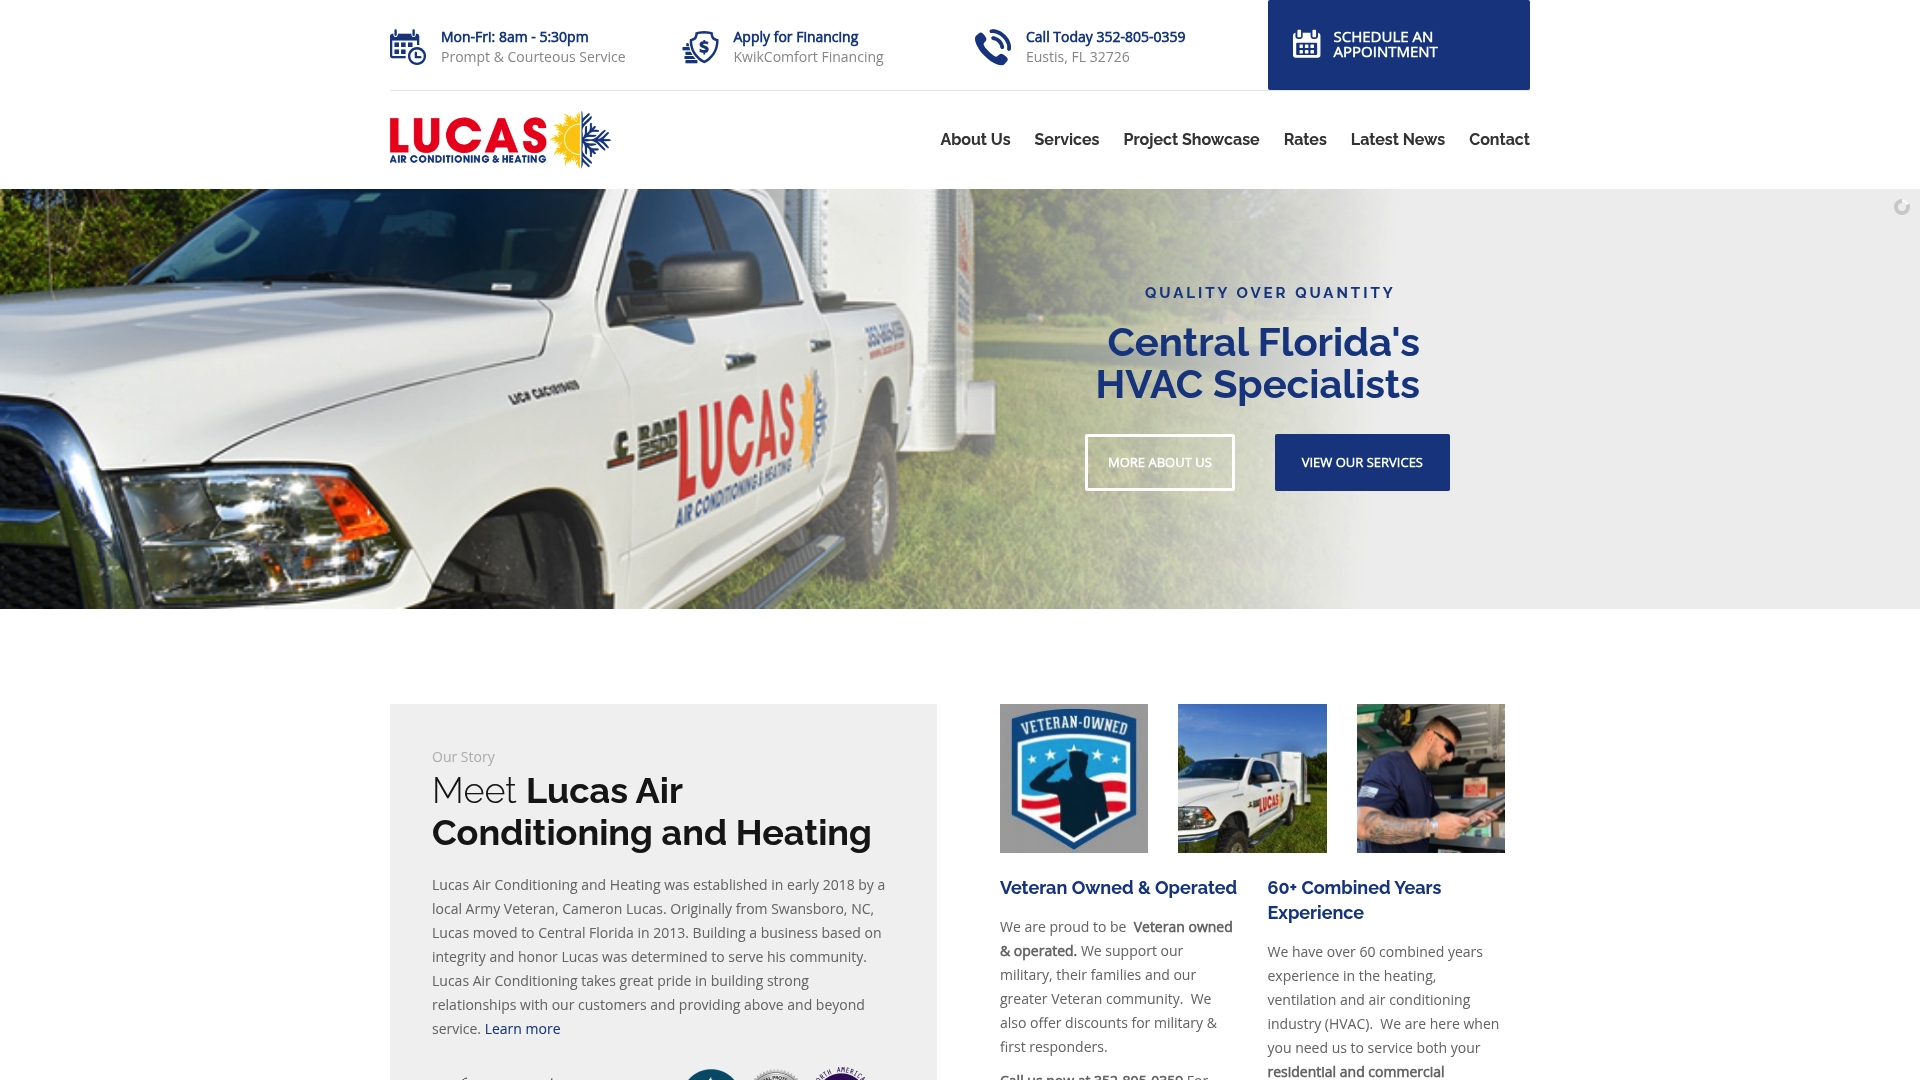
Lucasair, based in Eustis, Florida, specializes in exactly the kind of pool heating system maintenance this guide covers, and then some. Founded by Army Veteran Cameron Lucas, the team brings military-grade discipline to every service call, from detailed tune-ups to full pool heater repair for both heat pump and gas systems across Central Florida.
If your seasonal HVAC check revealed problems beyond the DIY scope — a failed capacitor, scaling that needs professional descaling, or a gas pressure issue — Lucasair has the equipment and licensing to handle it properly. Their preventative maintenance agreements keep your system on a consistent service schedule so nothing slips through the cracks between your own maintenance sessions. Military members, veterans, and first responders receive special pricing. Scheduling is easy through the website, and financing options are available for larger repairs or system upgrades. Do not wait for a breakdown to make the call.
FAQ
How often should pool HVAC maintenance be done?
Full maintenance should be performed at the start of each season, with monthly filter and flow checks during active use months. Annual professional inspections are recommended by major manufacturers.
What causes a pool heat pump to stop heating?
The most common causes are a dirty filter restricting flow, a scaled heat exchanger, or a failed capacitor. Checking water flow and filter pressure first resolves up to 40% of heat pump issues before any parts are replaced.
Can I clean heat pump coils myself?
Yes. Use a garden hose with low pressure, spraying from the inside out. Never use a pressure washer, as it permanently bends aluminum fins and reduces heat transfer efficiency.
How do I know if my pool heater needs professional service?
Signs include repeated breaker trips, refrigerant line oil spots, error codes that do not clear after basic maintenance, or a gas heater that fires inconsistently. These require licensed technicians with specialized diagnostic tools.
Does water chemistry affect pool HVAC equipment?
Absolutely. Keeping the Calcium Saturation Index between -0.6 and 0.6 prevents heat exchanger corrosion and scaling, which is the top cause of premature heater failure in pools with unbalanced water chemistry.
