Hot afternoons and unpredictable weather in Central Florida often test your patience when your HVAC system struggles. Knowing the basics of your HVAC setup is not just for peace of mind, but is the foundation for dependable comfort and lower repair costs. By focusing on key details like manufacturer information and keeping air filters clean, you can prevent costly breakdowns and make smarter maintenance decisions for your home or property. Stay ahead with practical troubleshooting steps that put control back in your hands.
Table of Contents
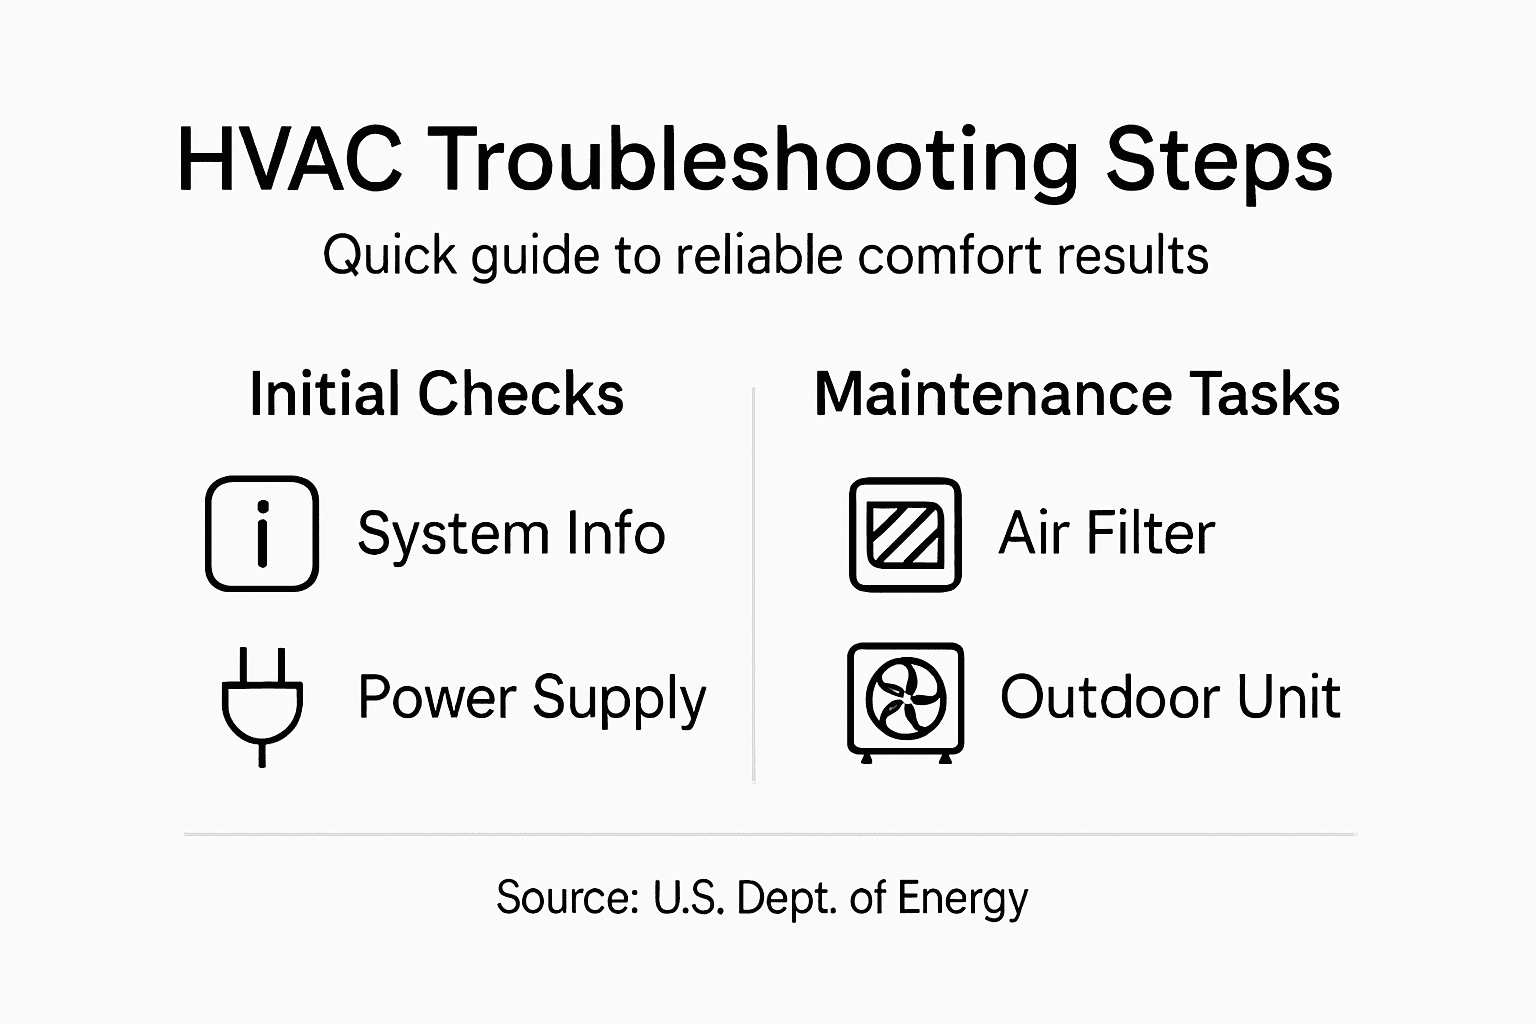
- Step 1: Gather Basic Information About Your HVAC System
- Step 2: Inspect Thermostat and Power Connections
- Step 3: Check Air Filters and Vents for Blockages
- Step 4: Examine Outdoor Unit and Components
- Step 5: Test System Performance After Adjustments
Quick Summary
| Key Point | Explanation |
|---|---|
| 1. Gather Crucial System Details | Record information like make, model, and age for effective troubleshooting and service planning. |
| 2. Inspect Electrical Components Safely | Check the thermostat and power connections to identify potential electrical issues that affect system performance. |
| 3. Maintain Clean Filters and Vents | Regularly replace dirty filters and clear blocked vents to ensure optimal airflow and system efficiency. |
| 4. Evaluate Outdoor Unit Condition | Inspect the outdoor unit for damage and debris to prevent performance issues and extend system lifespan. |
| 5. Test System Performance Regularly | Monitor HVAC operation after adjustments to ensure consistent heating/cooling and identify potential problems early. |
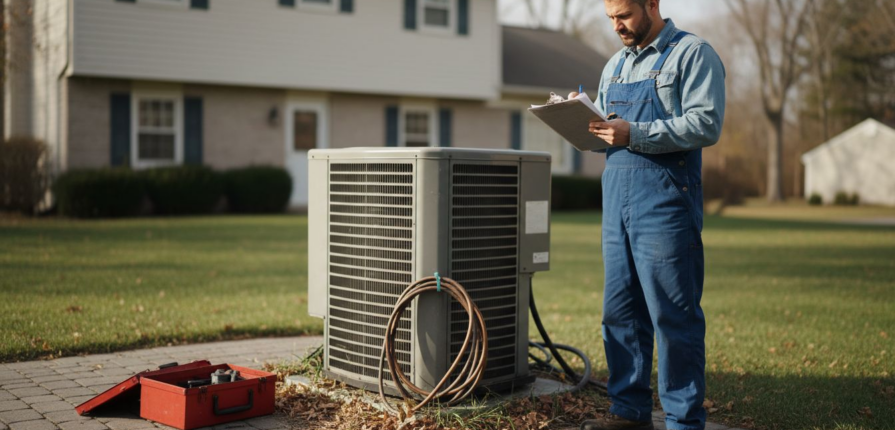
Step 1: Gather Basic Information About Your HVAC System
Getting a solid understanding of your HVAC system is the first critical step toward effective troubleshooting and reliable comfort. Before diving into complex diagnostics, you need to collect essential details that will guide your maintenance and repair strategy.
Start by locating your system’s documentation and identifying its core components. This includes finding the make, model, and serial number of both your indoor air handler and outdoor condensing unit. Check the manufacturer’s nameplate or documentation typically mounted on equipment surfaces. You’ll want to record details such as:
- Age of the HVAC system
- Manufacturer and model number
- Current refrigerant type
- Approximate square footage of your home
- Type of system (central air, heat pump, split system)
The U.S. Department of Energy provides guidance on understanding system specifications that help homeowners perform more targeted maintenance. Professional HVAC technicians use these basic details to diagnose potential issues quickly and recommend precise solutions.
Here’s a summary of HVAC system details to collect and why each matters:
| Detail Collected | Why It Matters | Where to Find |
|---|---|---|
| Manufacturer and Model | Needed for parts and service | Nameplate or documentation |
| Age of System | Indicates likely lifespan and efficiency | Owner records or invoices |
| Refrigerant Type | Determines service options and regulations | Service records or label |
| Square Footage Served | Ensures proper sizing and performance | Home appraisals or plans |
| System Type | Dictates troubleshooting steps | System documentation |
Additionally, review your system’s maintenance history. Check past service records, filter replacement dates, and any previous repair documentation. This information helps you understand the system’s overall health and potential wear patterns.
Pro tip: Take clear photographs of your system’s model plates and keep digital copies stored safely for quick reference during future maintenance or service calls.
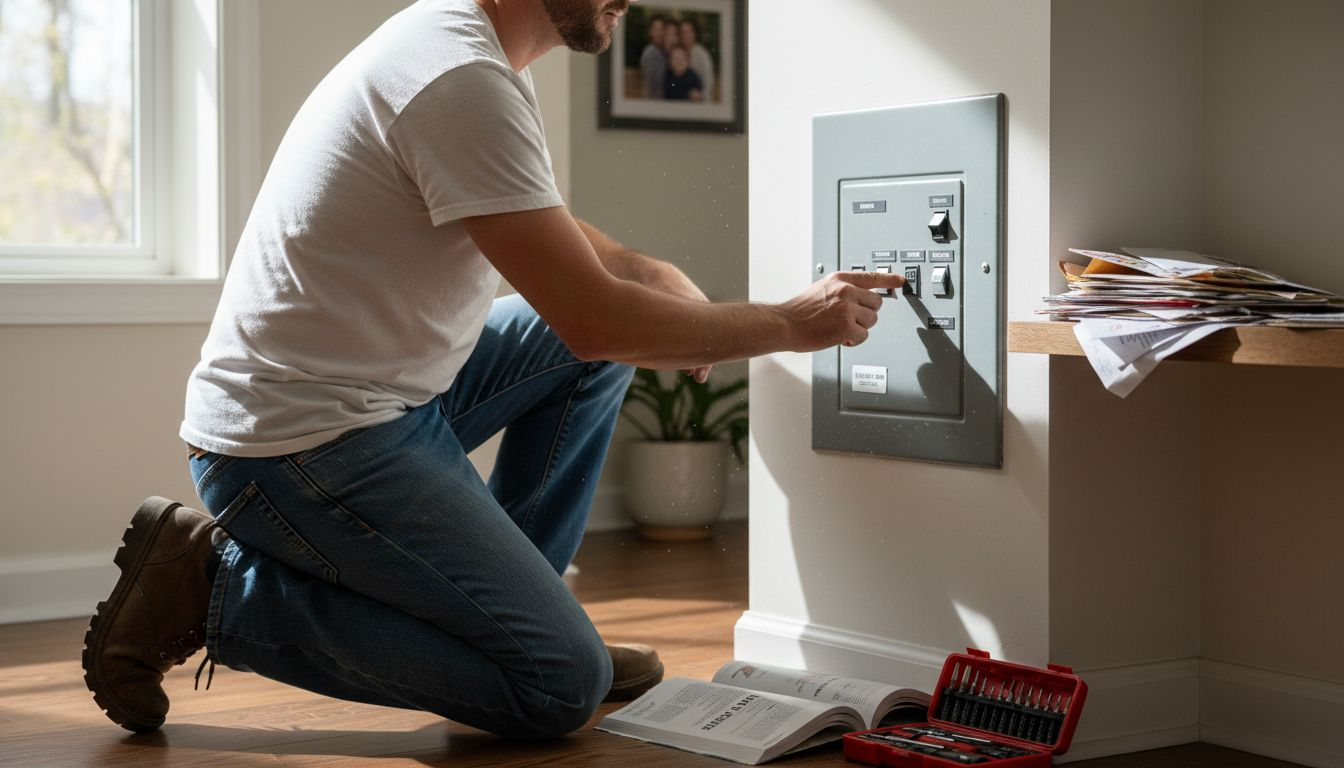
Step 2: Inspect Thermostat and Power Connections
Troubleshooting your HVAC system requires a careful examination of its electrical components, starting with the thermostat and power connections. This critical step helps identify potential electrical issues that might prevent your system from functioning correctly.
Begin by visually inspecting your thermostat for any obvious signs of damage or wear. Check that the display is clear and responsive, and verify the current settings match your comfort needs. Electrical components in HVAC systems involve several key areas you should examine:
- Battery condition (if applicable)
- Visible wire connections
- Display functionality
- Programmed settings accuracy
- Physical mounting and alignment
Next, carefully remove the thermostat cover to inspect the internal wiring. Look for:
- Loose or corroded wire connections
- Signs of fraying or electrical damage
- Secure attachment of each wire terminal
- Proper color coding of electrical connections
Electrical connection integrity is crucial for reliable HVAC system performance.
If you’re uncomfortable working with electrical components, it’s best to contact a professional HVAC technician who can safely perform a comprehensive electrical system evaluation.
Pro tip: Before performing any electrical inspection, always turn off power to your HVAC system at the circuit breaker to prevent potential electrical shock.
Step 3: Check Air Filters and Vents for Blockages
Maintaining clean air filters and unobstructed vents is crucial for your HVAC system’s efficiency and performance. Blocked filters and restricted airflow can dramatically reduce your system’s ability to cool or heat your home effectively.
Common air conditioner problems often stem from neglected filter maintenance and vent blockages. Begin by locating your system’s air filter, typically found near the indoor air handler or in return air vents. Carefully remove the filter and inspect it for accumulated dust, debris, and visible particulate buildup:
- Check for gray or dark discoloration
- Look for visible dust accumulation
- Examine filter edges for dirt and debris
- Verify filter size and condition
- Assess overall filter integrity
If the filter appears dirty or clogged, replace it immediately. Most residential HVAC systems require filter replacement every 30-90 days, depending on your home’s environment and system usage.
Use this table to compare common HVAC filter types and suitability:
| Filter Type | Performance Level | Best For | Replacement Frequency |
|---|---|---|---|
| Fiberglass | Basic | Low-pollen areas | 30 days |
| Pleated | Intermediate | Most households | 60-90 days |
| HEPA | High | Allergy sufferers | 90 days |
| Washable/Reusable | Moderate | Eco-friendly homes | Monthly cleaning |
Next, inspect your home’s air vents and registers. Ensure all vents are completely open and free from obstructions like furniture, curtains, or accumulated dust. Use a vacuum with a brush attachment to carefully clean vent covers and remove any visible dust or debris that might impede airflow.
Unobstructed airflow is essential for maintaining your HVAC system’s efficiency and preventing potential component damage.
Pay special attention to vents in less trafficked areas like closets, guest rooms, or storage spaces. These areas are often overlooked but can significantly impact your system’s overall performance.
Pro tip: Consider marking your calendar with filter replacement dates to maintain consistent HVAC system performance and prevent unnecessary wear.
Step 4: Examine Outdoor Unit and Components
Troubleshooting your HVAC system requires a comprehensive examination of the outdoor unit, which plays a critical role in your system’s overall performance. Your external unit works hard to transfer heat and maintain your home’s comfort, making regular inspection essential.
Complete HVAC troubleshooting guide recommends a thorough evaluation of your outdoor components to prevent potential system failures. Start by visually inspecting the exterior of the condensing unit for any obvious signs of damage or wear:
- Check for bent or damaged fins on the condenser coil
- Look for signs of rust or corrosion
- Verify the unit is sitting level on its concrete pad
- Inspect refrigerant lines for any visible damage
- Ensure no vegetation is growing too close to the unit
Clear the area around your outdoor unit by removing any debris, leaves, or vegetation within at least two feet of the system. Overgrown plants can restrict airflow and reduce your system’s efficiency.
Next, examine the fan and fan motor carefully. Look for any signs of damage to the fan blades, listen for unusual noises, and check that the fan spins freely without obstruction. A wobbling or noisy fan could indicate serious mechanical issues that require professional attention.
Proper maintenance of your outdoor unit is crucial for maintaining overall HVAC system performance and preventing costly repairs.
Pay special attention to the condition of the refrigerant lines. Look for any signs of frost, ice buildup, or unusual condensation that might indicate a refrigerant leak or system malfunction.
Pro tip: Take clear, dated photographs of your outdoor unit during inspection to track changes and provide visual reference for future maintenance or professional consultations.
Step 5: Test System Performance After Adjustments
After performing your initial troubleshooting steps, it’s critical to verify that your HVAC system is functioning correctly. Testing system performance will help you confirm that your previous adjustments have resolved potential issues and restored optimal comfort.
HVAC performance testing methods require a systematic approach to evaluate your system’s functionality. Begin by turning on your system and monitoring its performance across several key indicators:
- Check temperature consistency in different rooms
- Listen for unusual sounds during operation
- Verify airflow strength from all vents
- Monitor system cycling and temperature recovery
- Assess overall cooling or heating efficiency
Run a complete heating and cooling cycle to thoroughly evaluate your system’s performance. Start by setting your thermostat 3-5 degrees different from the current room temperature and observe how quickly and smoothly the system responds.
Pay close attention to critical performance metrics. Note the time it takes for your system to reach the desired temperature, the consistency of airflow, and any potential temperature variations between rooms. Uneven cooling or heating could indicate ongoing issues with ductwork, vents, or system calibration.
Comprehensive system testing ensures your HVAC operates at peak efficiency and provides reliable comfort.
If you notice persistent problems or significant performance discrepancies, it might be time to consult a professional HVAC technician for a more detailed diagnostic evaluation.
Pro tip: Keep a simple log of your system’s performance during testing, noting temperature changes, cycle times, and any unusual behaviors to help diagnose potential future issues.
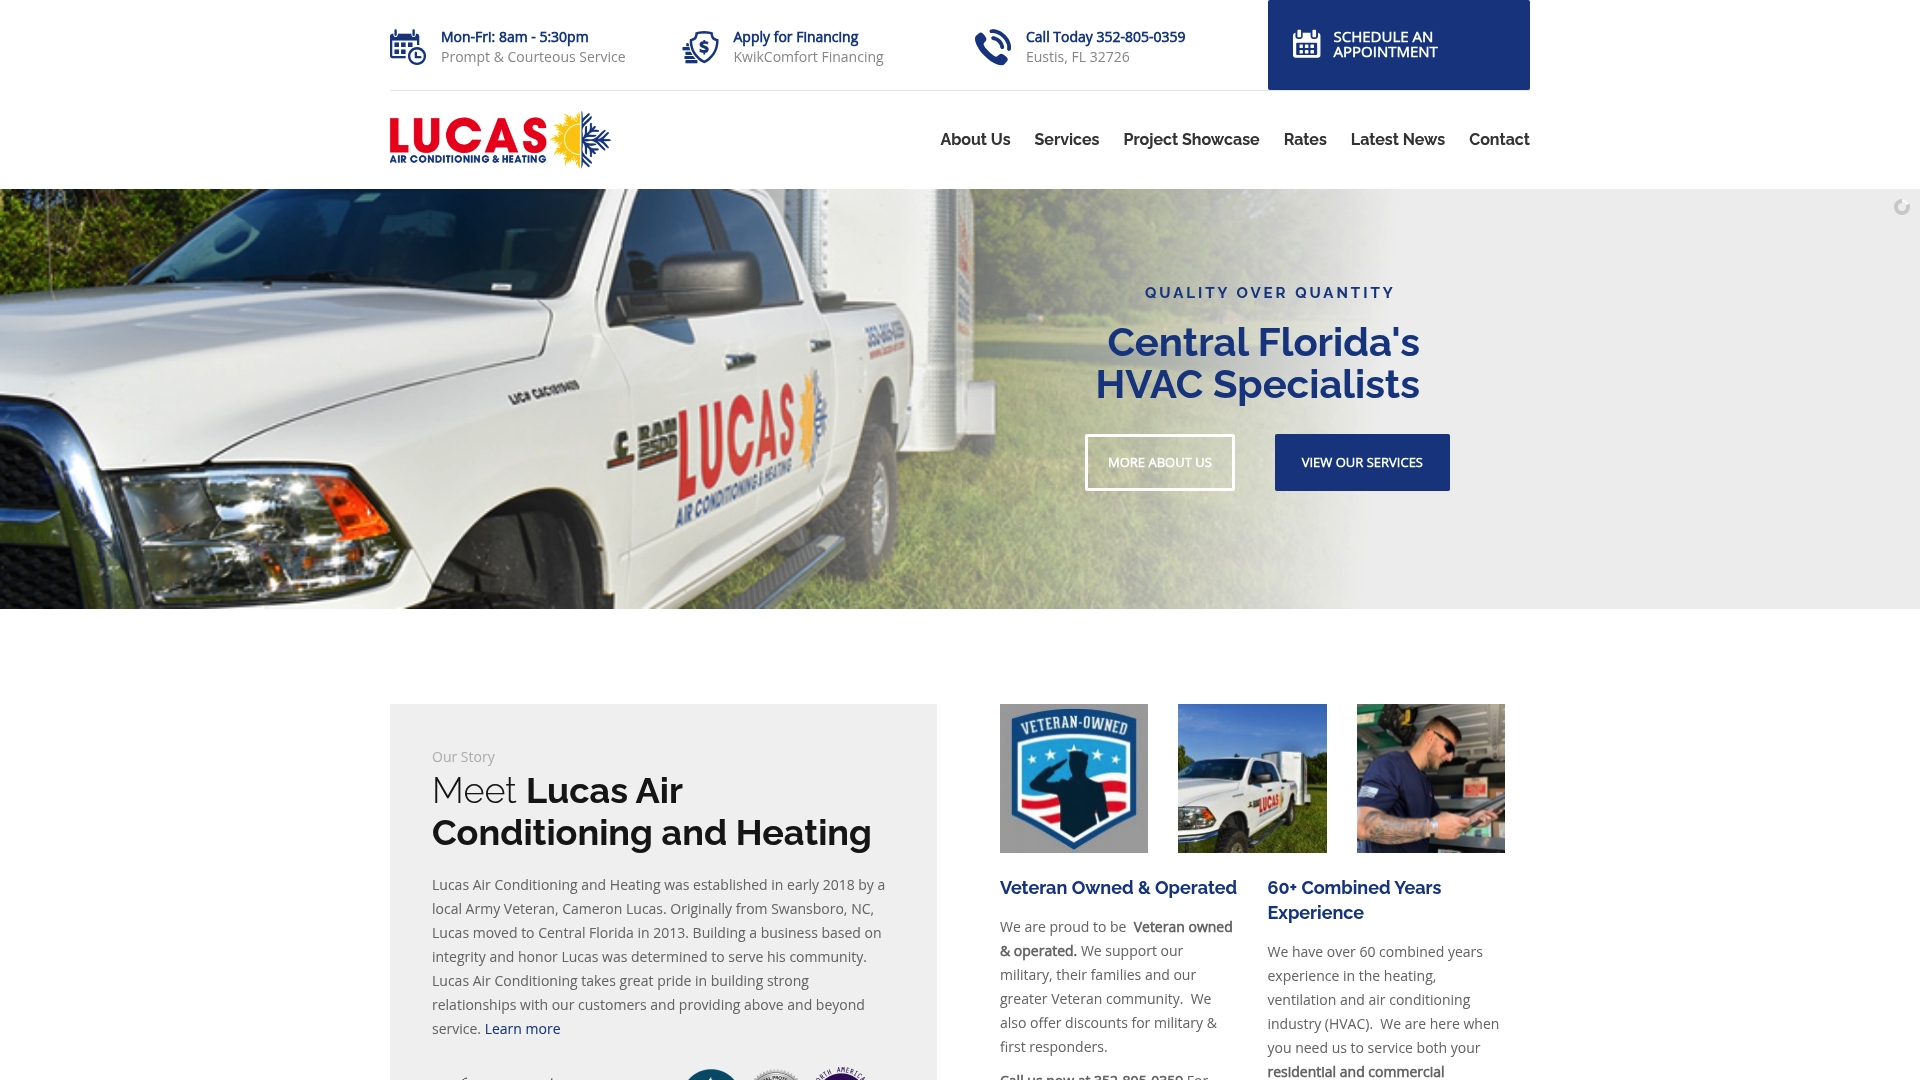
Ensure Reliable Comfort with Expert HVAC Support from Lucas Air Conditioning and Heating
Troubleshooting your HVAC system can be overwhelming when faced with issues like inconsistent airflow, thermostat errors, or outdoor unit damage. You want dependable solutions that restore comfort quickly and prevent costly breakdowns. At Lucas Air Conditioning and Heating, we understand the importance of clean air filters, secure electrical connections, and well-maintained outdoor units to keep your system running efficiently all year round. When DIY fixes are not enough, our veteran-owned team is ready to step in with professional repairs, tune-ups, and comprehensive maintenance plans.
Don’t let HVAC problems disrupt your home or business comfort in Central Florida. Explore our latest Special Offers for January 2026 and discover affordable ways to upgrade or repair your system today. Need better indoor air quality? Visit our Ventilation Archives for tips or schedule an expert consultation at Lucas Air Conditioning and Heating. Take control of your comfort now with trusted local service tailored just for you.
Frequently Asked Questions
How do I gather basic information about my HVAC system?
To gather basic information about your HVAC system, locate the make, model, and serial numbers of both your indoor air handler and outdoor condensing unit. Record details such as the age of the system, current refrigerant type, and the square footage of your home to help guide maintenance and troubleshooting efforts.
What should I inspect on my thermostat during HVAC troubleshooting?
Check your thermostat for any signs of damage, ensure the display is clear and responsive, and verify that the programmed settings align with your comfort requirements. Inspect the internal wiring for loose or corroded connections to promote reliable system performance.
How often should I replace my HVAC air filter?
You should replace your HVAC air filter every 30 to 90 days, depending on your home’s environment and system usage. Regularly replacing the filter can improve airflow and efficiency, leading to better heating and cooling performance.
How can I examine the outdoor unit of my HVAC system?
Visually inspect the outdoor unit for bent fins, rust, or debris within two feet of the system. Ensure all components, such as the fan and refrigerant lines, are undamaged and clear from obstructions to maintain optimal HVAC performance.
What steps should I take to test my HVAC system’s performance?
To test your HVAC system’s performance, run a complete heating and cooling cycle, adjusting the thermostat to a temperature that is 3-5 degrees different from the current room temperature. Monitor how quickly the system responds and note any unusual noises or airflow inconsistencies during operation.
How can I record HVAC performance for future reference?
Keep a simple log of your HVAC system’s performance during testing, noting temperature changes, cycle times, and any unusual behaviors. This log can help diagnose potential future issues and track system efficiency over time.
