
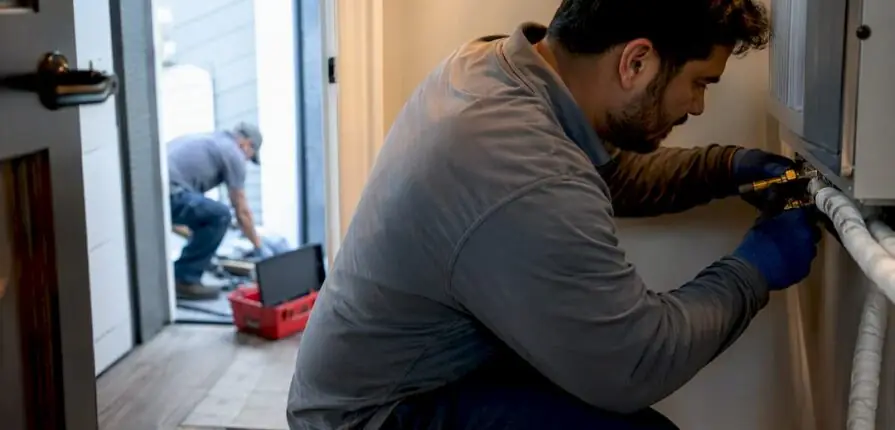
Most standard residential AC changeouts finish in one workday, typically 4 to 8 hours of hands-on labor. That covers a straightforward swap where the ductwork, electrical panel, and system size all match up. Add new ductwork, an electrical upgrade, multiple zones, or a permit that needs an inspector’s visit, and the same job can stretch into a multi-day project.
TL;DR:
- Most standard AC changeouts take between 4 to 8 hours for a straightforward swap, but additional work like duct repairs or electrical upgrades can extend the timeline.
- Ductwork condition is the main factor that can cause a job to spill into multiple days, especially if major repairs or replacements are necessary.
- Proper system calibration, refrigerant charging, and leak testing are critical steps that are often rushed but can lead to callbacks if not thoroughly completed.
- Multiple issues such as site access, parts availability, and system complexity can add hours or days to the installation, especially in older homes or complicated setups.
- Setting realistic expectations, preparing your home, and understanding permit and inspection requirements are essential to ensure a smooth, timely AC installation.
Table of Contents
- AC Installation Time, Stage by Stage
- What Actually Adds Hours to the Job
- When a One-Day Job Becomes a Multi-Day Project
- Getting Your Home Ready for Installation Day
- Permits, Inspections, and What “Done” Actually Means
- What A Professional Crew Actually Does On Installation Day
- What Homeowners Get Wrong About Installation Speed
- Ready to Schedule Your AC Installation?
- Sources
AC Installation Time, Stage by Stage
A technician doesn’t just show up and bolt on a new condenser. The job breaks into distinct phases, and knowing where the hours go helps you spot delays before they happen.
- Pre-install assessment and load calculation: 30 minutes to 2 hours. The crew checks square footage, insulation, window count, and existing ductwork to size the new system correctly.
- Old system removal and refrigerant recovery: 30 to 90 minutes. Refrigerant has to be legally recovered, not vented, before the old unit comes off the line.
- Ductwork inspection and minor repairs: 0 to 3 hours, only if problems turn up. Leaky joints or crushed runs get patched here.
- Outdoor condenser installation: 1 to 2 hours, including the pad, electrical hookup, and line set connections.
- Indoor air handler or evaporator coil installation: 1 to 2 hours, often running in parallel with the outdoor work if the crew has enough hands.
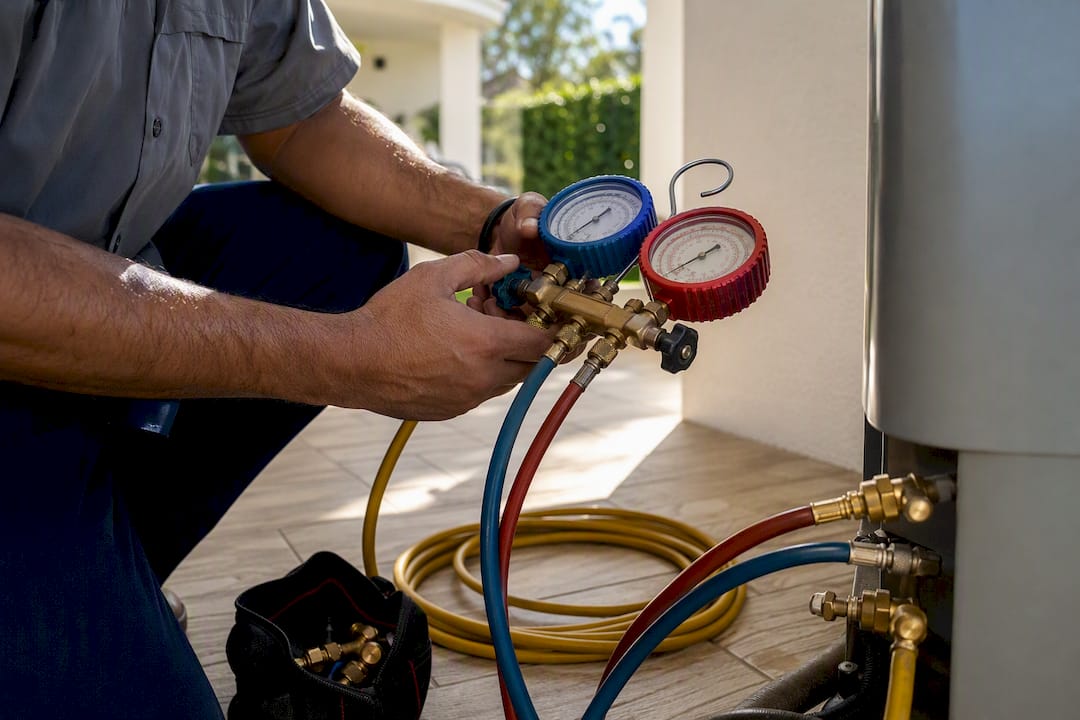
- Vacuuming, refrigerant charging, leak testing, and system calibration: 1 to 2 hours. This is the step most likely to get rushed on a tight schedule, and rushing it is exactly what causes callbacks months later.
| Stage | Typical Time |
|---|---|
| Assessment and load calculation | 0.5–2 hours |
| Removal and refrigerant recovery | 0.5–1.5 hours |
| Ductwork check and repairs | 0–3 hours |
| Outdoor condenser install | 1–2 hours |
| Indoor coil or air handler install | 1–2 hours |
| Charging, testing, and calibration | 1–2 hours |
Add those up on a good day, and you land right in the 4 to 8 hour range most manufacturers and contractors quote for a straight changeout. Trade forums back this up with real-world numbers, where technicians commonly report 3 to 8 hours on standard jobs, with outliers running longer.
Pro Tip: Ask your contractor upfront whether they plan to run the outdoor and indoor installs simultaneously with a two-person crew. That single scheduling choice can shave an hour or more off the day.
What Actually Adds Hours to the Job
Ductwork condition is usually the biggest wild card. Undersized, leaky, or damaged ducts are the single most common reason a same-day job slides into a second day, since minor patches take 1 to 3 hours but a real duct overhaul does not.
A few other variables shift the timeline just as much:
- Electrical upgrades: A new breaker or panel work often means bringing in a licensed electrician on a separate visit, not just extra minutes on the same day.
- System type and complexity: Heat pumps and multi-zone systems need more calibration steps than a basic single-zone AC. Ductless mini-splits tend to install in under a day per zone, but each additional indoor head adds real hours.
- Site access: Attic units in tight crawlspaces, second-story condensers, or homes with limited parking for the service truck all slow equipment staging.
- Crew size: Two-person crews handle most straight changeouts fine; larger homes or multi-zone jobs often call for three or four techs on site.
- Parts availability: A smart thermostat or zoning damper that has to be special-ordered can turn a one-day job into a two-visit job.
None of these factors are dealbreakers on their own. Stack two or three together, and a 6-hour install can quietly become a 2-day project.
When a One-Day Job Becomes a Multi-Day Project
Some scenarios simply don’t fit into a single work order, no matter how efficient the crew is. Here’s when to expect more than one day:
- Full ductwork replacement or major repairs. Running new supply and return lines through walls or attics commonly takes 1 to 3 days depending on home size and access.
- New construction installs. The HVAC crew works around framers, electricians, and drywall schedules, so installation gets staged across multiple visits rather than done in one push.
- Electrical service upgrades. If your panel can’t handle the new unit’s amperage, that’s a separate permit, a separate inspection, and often a separate contractor.
- Multi-zone mini-split systems. Each additional indoor head adds installation hours, and a five-zone system easily spans two working days.
- Older homes with hidden surprises. Outdated wiring, asbestos-era duct insulation, or structural quirks discovered mid-job can pause work until it’s addressed safely.
Getting Your Home Ready for Installation Day
A little prep work on your end keeps the crew moving instead of waiting on you. Clear a path to both the indoor unit location and the outdoor pad, move anything fragile out of the work zone, and keep pets and kids away from open panels and tools.
- Have your old system’s model number and any duct plans ready if you have them.
- Leave enough driveway space for the service truck and equipment staging.
- Confirm crew size, what’s already loaded on the truck, and a realistic work window before the day starts.
- Expect a final walk-through: system testing, a thermostat demonstration, and a written summary or invoice before the crew leaves.
- If something unexpected comes up mid-job, ask for a written change order with an updated timeline before work continues.
Our guide on preparing for an HVAC installation walks through this in more detail if you want a fuller checklist.
Pro Tip: Scheduling installation in early spring, before peak cooling season hits, often means a shorter wait for an appointment and less pressure on the crew from emergency calls elsewhere. That scheduling logic holds for other home projects too, where shoulder seasons tend to open up contractor availability.
Permits, Inspections, and What “Done” Actually Means
The technician packing up their van isn’t always the finish line. Most jurisdictions require a permit for AC replacement, and many require a follow-up inspection before the job is legally complete.
- Electrical panel work, refrigerant line modifications, and full system replacements almost always trigger a permit requirement.
- Some counties issue electronic permits with same-day signoff, while others require scheduling an in-person inspector visit that can take several extra days.
- Ask your contractor to confirm they’ve submitted permit paperwork correctly and scheduled the inspection promptly, since paperwork errors are a common cause of avoidable delay.
- Don’t assume “installed” means “inspected and approved.” Keep a copy of the permit and inspection record for your files.
What A Professional Crew Actually Does On Installation Day
A quality crew doesn’t skip steps to save time: they run a load calculation before quoting equipment size, inspect ductwork before connecting anything new, and document permit submissions rather than leaving them to chance. A quality crew doesn’t skip steps to save time: they run a load calculation before quoting equipment size, inspect ductwork before connecting anything new, and document permit submissions rather than leaving them to chance.
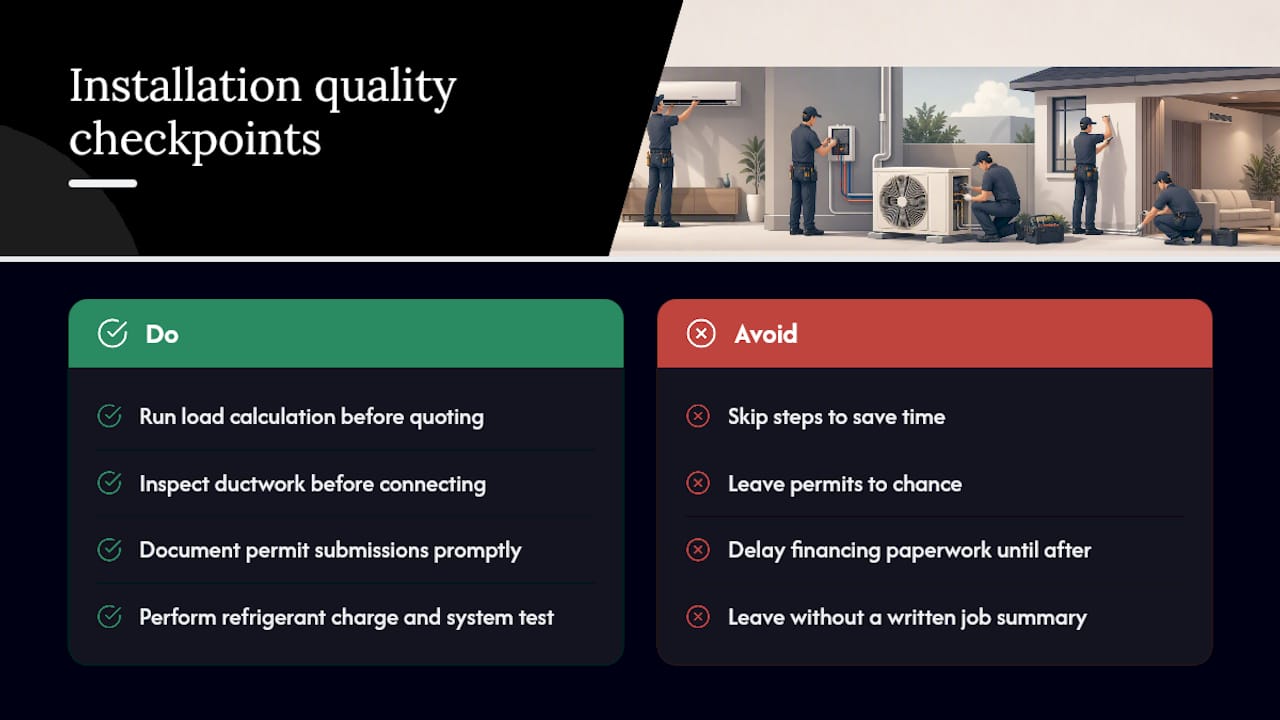
On a well-run job, you should expect clear communication about the work window, a final refrigerant charge and system test before anyone leaves, and a written summary of what was done. If financing came into play, that paperwork gets handled up front, not as an afterthought. Our residential and commercial installation page outlines what that process looks like in practice.
What Homeowners Get Wrong About Installation Speed
The biggest misconception isn’t about hours. It’s about what “fast” should mean. Homeowners often treat a quick installation as the goal, when the real goal is a system that’s sized correctly and charged properly the first time. A crew that rushes the final vacuum and refrigerant charge to hit a same-day finish is setting you up for a callback in August, not saving you time.
Conventional advice tends to focus entirely on the clock: how many hours, how many days. That’s useful, but it skips the more important question: did the contractor do a real load calculation, or just swap in a same-size unit because it’s faster? An undersized or oversized system installed in 5 hours will cost you more in comfort and energy bills than a properly sized one installed in 7.
If you take one thing from this, prioritize scope clarity over speed. Ask what stage the quoted timeline assumes, and what happens to that timeline if ductwork problems turn up once the old unit comes off. A contractor who can answer that specifically, before they ever pick up a wrench, is the one worth hiring.
— Results
Ready to Schedule Your AC Installation?
If your home has decent ductwork and no major electrical surprises, a same-day changeout is a realistic goal, not a sales promise. The best way to know for sure is a written estimate that spells out scope, timeline, and what happens if something unexpected turns up once the old unit is off.

Estimates should be straightforward, backed by financing options if a system upgrade makes more sense than a like-for-like swap. Our step-by-step installation guide walks through exactly what to expect before the crew arrives, and our list of installation questions to ask helps you compare quotes apples to apples. When you’re ready, schedule an appointment and get a written timeline before any work begins.