Facing a malfunctioning air conditioner or heater in Eustis can quickly disrupt your daily comfort. For local homeowners, tackling HVAC issues safely and efficiently means you need the right tools and careful preparation. By focusing on systematic safety practices, regular maintenance, and step-by-step guidance, you can protect your investment and restore comfort without overspending. This article offers clear solutions and practical advice designed for families in Eustis, with a special commitment to convenience and trusted customer service from a veteran-owned business.
Table of Contents
- Step 1: Prepare Tools and Ensure Safety
- Step 2: Diagnose HVAC System Problems
- Step 3: Clean and Replace Key Components
- Step 4: Repair or Replace Malfunctioning Parts
- Step 5: Test System and Confirm Repairs
Quick Summary
| Key Point | Explanation |
|---|---|
| 1. Gather Essential Tools | Collect tools like wrenches, drills, and safety gear before starting repairs to ensure efficiency and safety. |
| 2. Systematically Diagnose Issues | Conduct a performance assessment by checking temperatures and airflow to identify potential HVAC problems early. |
| 3. Maintain Key Components Regularly | Replace or clean air filters and other components regularly to extend system lifespan and improve air quality. |
| 4. Evaluate Repair Versus Replacement | Assess cost effectiveness and component age to decide whether to repair or replace malfunctioning parts. |
| 5. Thoroughly Test the System | After repairs, test your HVAC system for consistent performance across all operations to confirm repairs are effective. |
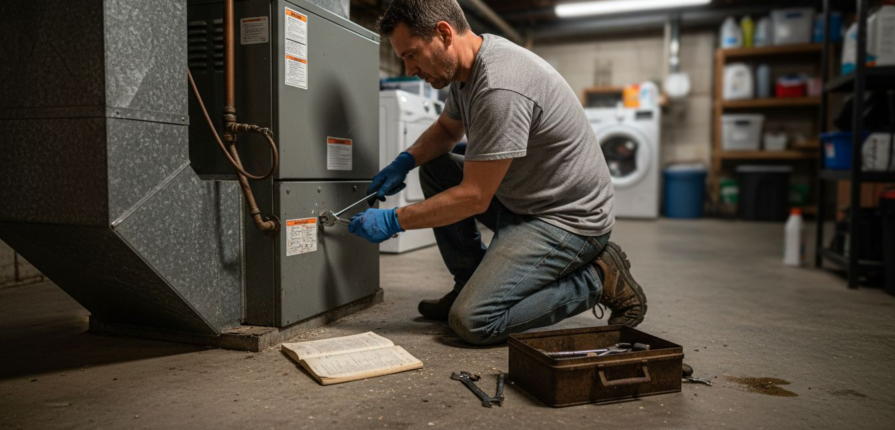
Step 1: Prepare Tools and Ensure Safety
Before diving into your HVAC repair, gathering the right tools and establishing a safe workspace is crucial for a successful project. This initial preparation will help you prevent accidents and work efficiently.
Start by collecting essential HVAC technician tools like Allen wrenches, cordless drills, flashlights, and safety equipment. Your safety toolkit should include:
- Safety glasses with side shields
- Thick work gloves
- Non-slip steel-toed boots
- Ear protection
- Respirator or dust mask
Before beginning any repair work, carefully inspect all tools for damage or wear. Look for:
- Frayed electrical cords
- Cracked tool handles
- Loose or missing parts
- Signs of excessive rust or corrosion
Power tools require special attention. According to workplace safety guidelines, ensure all electrical tools have grounded plugs or are double-insulated to prevent electrical hazards.
Safety isn’t just about equipment – it’s about maintaining constant awareness of your work environment and potential risks.
Remove any loose clothing, jewelry, or accessories that could get caught in moving parts. Keep your workspace clean and well-lit, with all tools organized and within easy reach.
Here’s a summary of essential HVAC safety gear and its purpose:
| Safety Equipment | Protection Type | Reason for Use |
|---|---|---|
| Safety glasses with shields | Eye and face | Prevents injury from debris |
| Thick work gloves | Hands | Protects from sharp objects |
| Steel-toed boots | Feet | Reduces risk from heavy equipment |
| Ear protection | Hearing | Minimizes noise exposure |
| Respirator or dust mask | Respiratory | Shields against airborne particles |
Pro tip: Always keep a fire extinguisher nearby and know its location before starting any HVAC repair work.
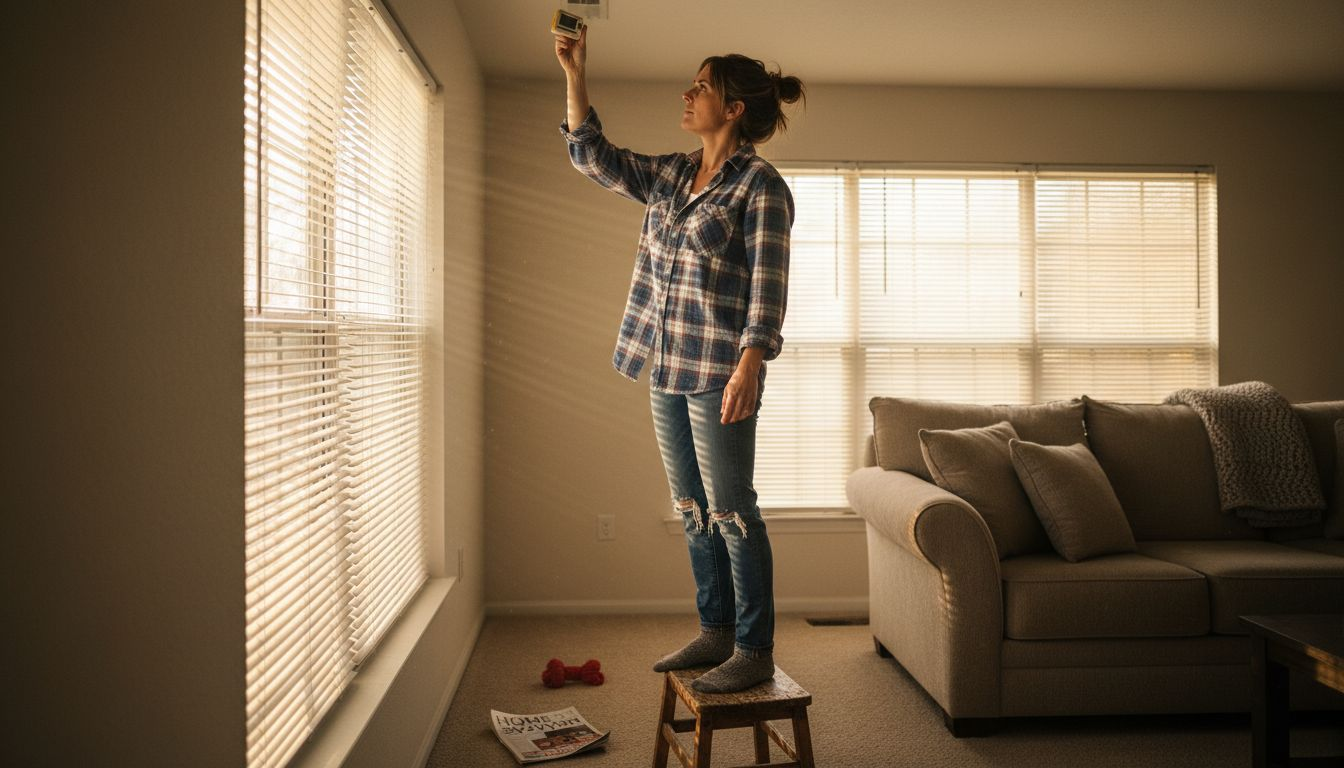
Step 2: Diagnose HVAC System Problems
Diagnosing HVAC system issues requires a systematic approach that helps you identify and understand potential problems before they escalate into costly repairs. This step will guide you through the essential diagnostic techniques that professional technicians use to pinpoint system malfunctions.
Start by conducting a comprehensive performance assessment of your HVAC system. Listen carefully for unusual sounds and observe system performance. Key diagnostic indicators include:
- Inconsistent temperature across different rooms
- Unusual noises like grinding, squealing, or banging
- Weak airflow from vents
- Unexplained increases in energy bills
- Frequent system cycling on and off
According to HVAC system diagnostic guidelines, you’ll want to systematically check several critical components:
- Inspect thermostat settings and battery condition
- Check air filters for dirt and blockages
- Examine electrical connections for signs of wear
- Measure air temperature at supply and return vents
- Verify refrigerant levels
Effective HVAC diagnosis requires patience, careful observation, and a methodical approach to identifying system irregularities.
Pay special attention to temperature differentials and airflow consistency. These can reveal underlying issues with compressors, ductwork, or electrical systems. If you notice significant performance problems, document your observations for potential professional assessment.
Pro tip: Keep a detailed maintenance log to track your system’s performance and help identify recurring patterns or potential problems.
Step 3: Clean and Replace Key Components
Cleaning and replacing key HVAC system components is crucial for maintaining optimal performance, energy efficiency, and indoor air quality. This step will guide you through the essential maintenance tasks that can significantly extend your system’s lifespan and prevent costly breakdowns.
Following HVAC maintenance procedures, you’ll need to focus on several critical components. Start with the air filters, which are your system’s first line of defense against dust and debris:
- Replace disposable filters every 1-3 months
- Clean reusable filters according to manufacturer instructions
- Check filter size before purchasing replacements
- Inspect filter condition during each maintenance cycle
- Mark replacement dates on a calendar or set digital reminders
According to HVAC system maintenance guidelines, you should systematically clean and inspect these additional components:
- Clean condenser coils to remove dirt and debris
- Check condensate drain lines for blockages
- Inspect electrical connections for signs of wear
- Lubricate moving parts as recommended by manufacturer
- Examine fan blades for damage or excessive dust buildup
Consistent maintenance is the key to preventing unexpected system failures and maintaining peak HVAC performance.
Wear protective gloves and use appropriate cleaning tools when working on your system. If you’re uncomfortable with any maintenance task or notice significant issues, it’s always best to consult a professional HVAC technician.
Pro tip: Take photos of your system components before cleaning to help you remember their original configuration and spot any changes during future maintenance.
Step 4: Repair or Replace Malfunctioning Parts
Navigating the complex decision of repairing or replacing HVAC system components requires careful analysis and strategic thinking. Your goal is to balance cost-effectiveness with long-term system reliability and performance.
Understand the repair versus replacement guidelines, which typically involve evaluating the following key factors:
- Repair cost compared to full replacement
- Age of the existing component
- Overall system efficiency
- Potential future maintenance requirements
- Energy consumption impact
According to HVAC parts maintenance insights, different components require different approaches:
- Assess thermostat issues first (often simple recalibration)
- Evaluate blower motor damage for potential repair
- Check compressor functionality for replacement consideration
- Inspect heat exchanger for critical structural problems
- Review electrical connection integrity
The 50 percent rule suggests replacing a component if repair costs exceed half the replacement price.
Research replacement costs thoroughly and consider long-term energy savings. Some seemingly expensive replacements can actually save money through improved efficiency and reduced future maintenance.
Compare repair and replacement decisions for HVAC components:
| Factor | Repair Approach | Replacement Approach |
|---|---|---|
| Initial cost | Lower upfront expense | Higher upfront, may save long-term |
| Component age | Best for newer parts | Ideal for older, outdated components |
| Energy efficiency | May not improve | Often increases system efficiency |
| Maintenance frequency | More frequent needed | Reduces ongoing maintenance |
| Performance impact | Limited improvements | Major boost in reliability |
Pro tip: Always get multiple professional opinions and written estimates before making a final repair or replacement decision.

Step 5: Test System and Confirm Repairs
After completing repairs, thoroughly testing your HVAC system is critical to ensure everything functions correctly and efficiently. This final diagnostic step will help you validate the effectiveness of your maintenance work and prevent potential future issues.
Following HVAC system performance testing procedures, you’ll want to systematically verify multiple system parameters:
- Check thermostat responsiveness
- Measure airflow volume
- Verify temperature consistency
- Test electrical connections
- Monitor system cycling
According to diagnostic tool calibration guidelines, you should perform these key testing steps:
- Power on the system and observe initial startup
- Set thermostat to different temperature modes
- Listen for unusual noises
- Check air temperature at supply vents
- Measure electrical consumption
Comprehensive testing is your final safeguard against incomplete or ineffective repairs.
Document your test results carefully, noting any remaining irregularities or performance variations. If significant issues persist, consider consulting a professional HVAC technician for further evaluation.
Pro tip: Run your system through a full 24-hour cycle to ensure consistent performance across different operating conditions.
Take Control of Your Home Comfort with Expert HVAC Support
Tackling HVAC repairs yourself can seem overwhelming when you encounter issues like inconsistent temperatures or unusual system noises. This guide highlights the challenges homeowners face when diagnosing and servicing complex systems safely and effectively. Whether you are unsure about cleaning critical components or deciding between repair and replacement, having trusted expert support makes all the difference.
Enhance your home comfort and peace of mind today by exploring our Ventilation Archives – Lucas Air Conditioning and Heating for proven maintenance tips and system upgrades. Don’t miss our latest Special Offers for January 2026 to save on professional HVAC tune-ups or replacements. When you need reliable, veteran-owned service close to home in Central Florida, visit Lucas Air Conditioning and Heating to schedule your appointment. Take the first step now to ensure safe, efficient, and long-lasting HVAC performance.
Frequently Asked Questions
What tools do I need for HVAC repair?
You will need essential HVAC technician tools such as Allen wrenches, cordless drills, flashlights, as well as safety equipment like safety glasses, thick gloves, and steel-toed boots. Start by preparing your toolset and organizing them within easy reach before beginning your repair work.
How can I diagnose problems in my HVAC system?
To diagnose problems, conduct a detailed performance assessment while listening for unusual sounds and observing system behavior. Check for inconsistent temperatures, weak airflow, or elevated energy bills, and document your findings for further evaluation.
What maintenance should I perform on my HVAC system?
Regular maintenance tasks include replacing or cleaning air filters every 1-3 months and inspecting key components like condenser coils and drain lines. Schedule consistent maintenance to enhance system efficiency and extend the lifespan of your HVAC system.
When should I repair versus replace HVAC parts?
Consider repairing components when the costs are less than 50% of replacement, and the parts are relatively new. If an essential component like the compressor or heat exchanger is old and damaged, replacement may be the more prudent option for long-term reliability.
How can I verify my HVAC system repairs are successful?
To confirm success, power on the system and check for responsive thermostat settings and consistent airflow after repairs. Document your observations, and if any performance issues persist, consider seeking professional assistance.
What safety precautions should I take before starting HVAC repairs?
Before starting repairs, remove loose clothing and jewelry, keep your workspace clean, and wear appropriate safety gear like gloves, glasses, and ear protection. Establish a safe environment to minimize risks and ensure effective repairs.
