Sweltering Central Florida summers can put any home’s HVAC system to the test, making routine inspection a vital part of your seasonal checklist. When you take a few smart safety precautions and gather the right tools, you protect your equipment and yourself from unexpected mishaps. This guide walks you through practical steps like using proper lockout procedures and wearing personal protective equipment, so you can boost efficiency, extend system life, and keep those energy costs under control.
Table of Contents
- Step 1: Prepare Tools and Ensure System Safety
- Step 2: Check Thermostat and Power Supply
- Step 3: Inspect Air Filters and Vents
- Step 4: Evaluate Indoor and Outdoor Equipment
- Step 5: Test HVAC Operation and Efficiency
Quick Summary
| Main Insight | Explanation |
|---|---|
| 1. Gather Essential Tools | Ensure you have safety glasses, insulated gloves, a voltage tester, and other tools ready before starting your HVAC inspection. |
| 2. Prioritize Safety Procedures | Always power down the HVAC system and use lockout/tagout methods to prevent electrical accidents during the inspection. |
| 3. Inspect Thermostat and Power Supply | Check the thermostat’s functionality and electrical connections to ensure your HVAC system operates efficiently and safely. |
| 4. Maintain Air Filters and Vents | Regularly check air filters for cleanliness and ensure vents are unobstructed to improve indoor air quality and system efficiency. |
| 5. Test System Performance Metrics | Use diagnostic tools to measure airflow, refrigerant pressure, and temperature differentials to assess your HVAC system’s efficiency. |
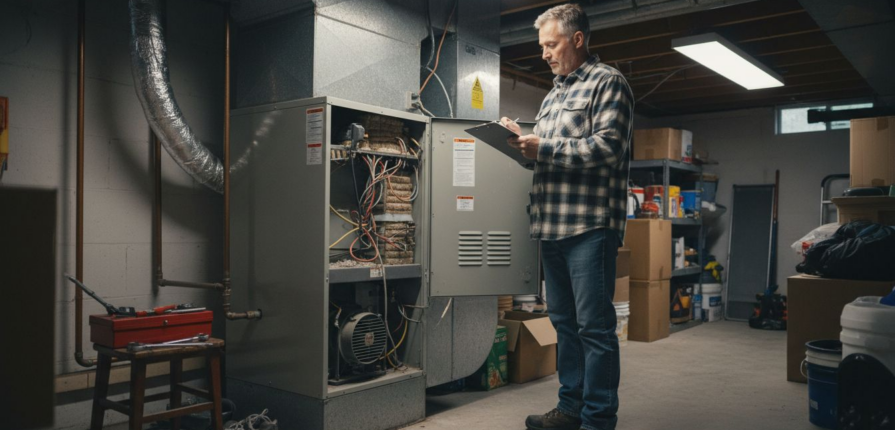
Step 1: Prepare Tools and Ensure System Safety
Before diving into your HVAC system inspection, you’ll need to prepare your workspace and equipment to guarantee a safe, efficient assessment. Safety isn’t just a recommendation – it’s a critical requirement for preventing accidents and protecting both you and your system.
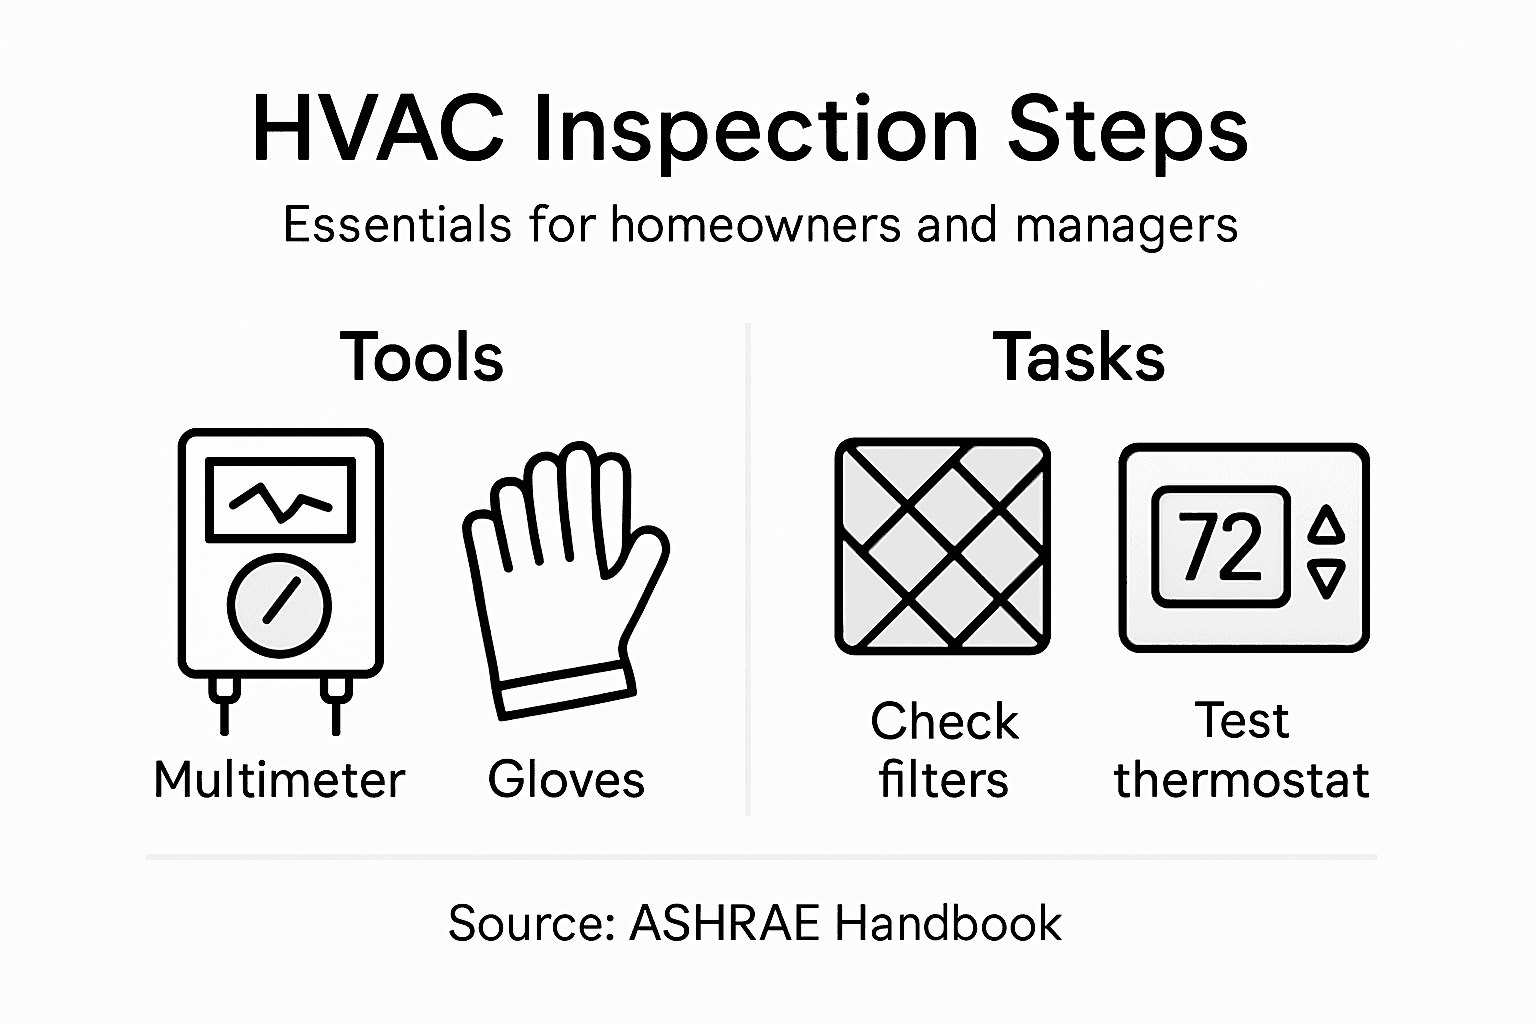
Start by gathering the essential safety equipment and inspection tools. Key items include:
- Safety glasses to protect your eyes
- Insulated work gloves
- Voltage tester
- Screwdrivers and wrenches
- Flashlight or headlamp
- Multimeter
Prior to beginning your inspection, you must follow strict safety preparation guidelines. This means completely powering down the HVAC system and using proper lockout/tagout procedures to prevent unexpected electrical engagement. Double-check that all power sources are disconnected before touching any components.
Professional inspectors always prioritize personal safety over speed or convenience.
Carefully inspect each tool before use, checking for any signs of damage or wear. Power tools should be grounded, double-insulated, and free from frayed cords or cracked housings. Worn or damaged tools can create significant safety risks during your inspection.
Here’s how common HVAC inspection tools impact system safety and performance:
| Tool Name | Safety Contribution | Performance Benefit |
|---|---|---|
| Safety glasses | Protects eyes from debris and sparks | Allows clear vision during tasks |
| Insulated gloves | Prevents electrical shocks | Improves handling of equipment |
| Voltage tester | Confirms power is off before touching | Detects electrical issues early |
| Multimeter | Identifies faulty circuits safely | Measures electrical performance |
| Flashlight/headlamp | Illuminates dark workspaces | Reveals hidden dust or damage |
Pro tip: Always keep a well-stocked first aid kit nearby and ensure someone knows you’re performing maintenance work in case of unexpected emergencies.
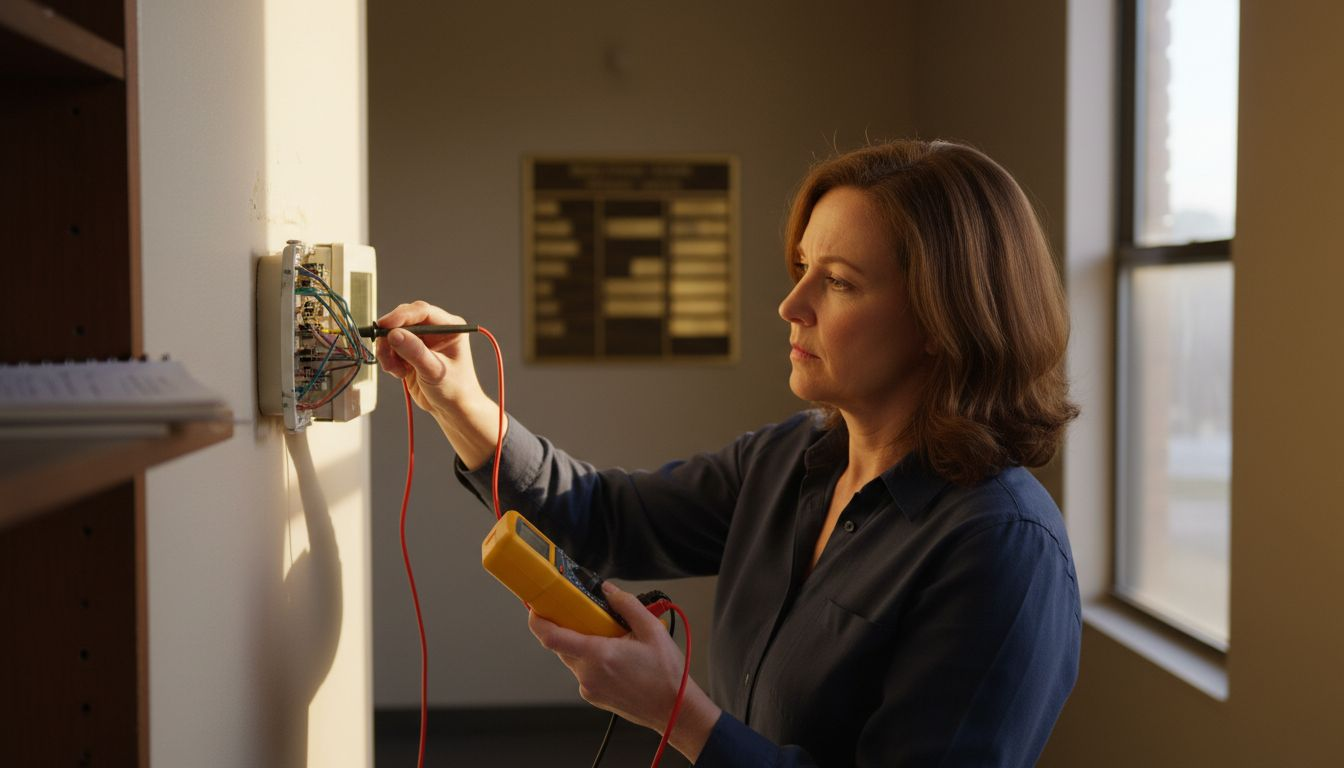
Step 2: Check Thermostat and Power Supply
Your HVAC system’s performance hinges on two critical components: the thermostat and its power supply. In this step, you’ll learn how to thoroughly inspect these essential elements to ensure your system operates efficiently and safely.
Begin by examining the thermostat’s electrical connections and verifying its proper functionality. Your inspection should include:
- Checking the thermostat’s display for clarity and responsiveness
- Ensuring all wiring connections are secure and undamaged
- Testing the temperature calibration accuracy
- Verifying that programmed settings engage correctly
- Inspecting the battery (if applicable)
A malfunctioning thermostat can significantly reduce your HVAC system’s overall performance and efficiency.
Next, assess the electrical power supply using a multimeter to confirm voltage levels and identify any potential electrical hazards. According to ASHRAE standards, this involves carefully measuring electrical input and checking circuit breakers for proper operation.
Ensure all power connections are tight, clean, and free from corrosion. Any signs of wear, fraying, or damage should be addressed immediately to prevent potential electrical failures.
Pro tip: If you’re uncertain about any electrical measurements or connections, consult a professional HVAC technician to perform a comprehensive assessment.
Step 3: Inspect Air Filters and Vents
Maintaining clean air filters and unobstructed vents is crucial for your HVAC system’s performance and indoor air quality. In this step, you’ll learn how to thoroughly inspect these critical components to ensure your system runs efficiently and keeps your home comfortable.
Begin by locating the air filter, typically found near the return air duct or inside the air handler. Proper filter inspection involves several key steps:
- Check the current filter’s Minimum Efficiency Reporting Value (MERV) rating
- Examine the filter for visible dust, debris, and discoloration
- Measure the filter’s thickness to ensure correct replacement
- Verify the filter is seated correctly in its housing
- Look for any signs of moisture or mold growth
A clean air filter is your first line of defense against indoor air pollutants and system inefficiency.
Next, carefully inspect all vent registers throughout your home. Ensure they are:
- Free from dust and debris accumulation
- Unobstructed by furniture or curtains
- Properly aligned and not damaged
- Opening and closing smoothly
- Showing no signs of rust or corrosion
According to ASHRAE’s HVAC Applications Handbook, regular vent and filter maintenance is essential for maintaining optimal system performance and indoor air quality.
This summary shows the impact of regular air filter and vent maintenance on indoor air quality and system efficiency:
| Maintenance Task | Effect on Air Quality | Effect on HVAC Efficiency |
|---|---|---|
| Replace air filter | Reduces allergens and dust | Lowers energy consumption |
| Clean vent registers | Prevents mold and contaminant | Ensures balanced airflow |
| Inspect for obstructions | Promotes ventilation | Prevents system strain |
| Check for corrosion | Limits harmful odors | Extends equipment lifespan |
Pro tip: Keep a log of your filter replacement dates and take a quick smartphone photo of your filter before removing it to ensure you purchase the correct replacement size and type.
Step 4: Evaluate Indoor and Outdoor Equipment
A comprehensive HVAC system inspection requires a thorough evaluation of both indoor and outdoor components. You’ll learn how to systematically assess your system’s equipment to ensure optimal performance and identify potential issues before they become costly problems.
HVAC equipment evaluation begins with a detailed indoor equipment assessment. Focus on these critical indoor components:
- Air handling units
- Blower motors and fan assemblies
- Electrical connections and control systems
- Condensate drainage lines
- Coil condition and cleanliness
Equipment performance directly impacts your system’s efficiency and longevity.
Moving to outdoor equipment, carefully inspect the following areas:
- Condensing unit exterior condition
- Compressor mounting and stability
- Refrigerant lines for leaks or damage
- Exterior unit cleanliness
- Mechanical components for signs of wear
According to ASHRAE’s comprehensive equipment handbook, a holistic approach is crucial when evaluating HVAC systems. Look for subtle signs of wear, listen for unusual noises, and check for any visual indicators of potential future problems.
Pro tip: Take clear, dated photos of both indoor and outdoor equipment during your inspection to track changes over time and provide a visual reference for future maintenance.
Step 5: Test HVAC Operation and Efficiency
Testing your HVAC system’s operation and efficiency is the most critical step in ensuring optimal performance and identifying potential issues. This comprehensive evaluation will help you understand your system’s true condition and potential energy consumption.
Begin by measuring system performance metrics using specialized diagnostic tools. Your testing should include:
- Temperature differential measurements
- Airflow rate calculations
- Refrigerant pressure assessments
- Electrical consumption analysis
- Operational sequence verification
Precision in measurement determines the accuracy of your system’s performance diagnosis.
Focus on key efficiency indicators that align with current energy standards. Pay close attention to:
- Seasonal Energy Efficiency Ratio (SEER2)
- Heating Seasonal Performance Factor (HSPF2)
- Overall system responsiveness
- Energy consumption under varying load conditions
- Temperature and humidity control capabilities
Energy efficiency standards require thorough testing to ensure your HVAC system meets performance benchmarks. Listen for unusual sounds, monitor system cycling, and note any inconsistent temperature distributions throughout your space.
Pro tip: Consider using a professional-grade infrared thermometer during your efficiency tests to capture precise temperature variations across different system components.
Take Control of Your HVAC System’s Health with Lucas Air Conditioning and Heating
Proper inspection and maintenance of your HVAC system can be challenging and time-consuming. This article highlights key pain points such as ensuring safety during inspections, verifying thermostat and power supply function, and maintaining clean filters and vents to prevent performance loss. If you feel overwhelmed by the complexity of regular HVAC care or uncertain about electrical and mechanical checks, you are not alone. Protecting your home or business comfort requires expert guidance and trusted service.
Keep your system running safely and efficiently by letting our experienced team handle your heating and cooling needs. At Lucas Air Conditioning and Heating, we specialize in professional tune-ups, repairs, and preventative maintenance designed for Central Florida homes and businesses. Discover current savings through our Special Offers for January 2026 › Special Offers › – Lucas Air Conditioning and Heating and improve your indoor air quality with our expert solutions from the Ventilation Archives – Lucas Air Conditioning and Heating.
Ready to experience peace of mind with reliable HVAC performance? Visit Lucas Air Conditioning and Heating today to schedule your comprehensive inspection or service. Act now to protect your investment and stay comfortable all year long.
Frequently Asked Questions
How do I safely prepare my tools for an HVAC inspection?
To safely prepare your tools for an HVAC inspection, gather essential safety equipment like safety glasses, insulated gloves, voltage testers, and a flashlight. Always check your tools for any damage before use, and ensure they are properly grounded and insulated.
What should I check on my thermostat during an HVAC inspection?
When inspecting your thermostat, verify its display for clarity, ensure all wiring connections are secure, and test the temperature calibration for accuracy. Check programmed settings to confirm they engage as expected, which can help improve your system’s efficiency.
How can I ensure my air filters and vents are in good condition?
To ensure your air filters and vents are functioning well, first, check the filter for debris and ensure it is seated correctly. Inspect vent registers for dust accumulation and obstructions, and clean as necessary to maintain proper airflow and indoor air quality.
What are the key components to evaluate during an HVAC system inspection?
Key components to evaluate during an HVAC inspection include air handling units, blower motors, electrical connections, and condensate drainage lines for indoor equipment, as well as the condensing unit and refrigerant lines for outdoor equipment. Inspect these areas for signs of wear or damage to improve system efficiency.
How do I test the operation and efficiency of my HVAC system?
To test your HVAC system’s operation and efficiency, measure performance metrics such as airflow rate, temperature differentials, and refrigerant pressures. Conduct these tests to identify issues and ensure your system is performing within energy efficiency standards, looking to optimize performance with actionable insights.
Why is regular HVAC inspection important for homeowners and managers?
Regular HVAC inspection is vital as it helps identify potential issues before they escalate into costly repairs. Conduct inspections at least annually to enhance system efficiency, prolong the lifespan of your equipment, and ensure a comfortable indoor environment.
